- A +
- A
- A -
'CRRC Group' moving wheel pair detection
With the many years of operation and development of high-speed rail, and accumulating a large amount of historical data related to vehicle operation, it is necessary to mine the knowledge behind the data, obtain the law of the wear and tear of the tread shape or the dimensional parameter value and the stability of the vehicle operation, and evaluate or predict the vehicle and the line. The matching status guides the wheel of the vehicle department for maintenance work.
Practical problems
1. The moving wheel is tested by traditional calipers and gauges. Many sizes and shape features cannot be effectively detected, which greatly affects the detection efficiency and detection accuracy of the product.
2. The customer needs to quickly scan the dimensions of the moving wheel pair, the wheel pair inner distance, the wheel diameter and other parts for dense point cloud collection requirements.
CO3D solutions
In the detection of moving wheel pairs, due to the large size and cumbersome, the surface has a variety of features and complex three-dimensional free-form surfaces. It is detected by traditional calipers and gauges. Many sizes and shape features cannot be effectively detected. The error greatly affects the detection efficiency and detection accuracy of the product. In order to abandon the traditional detection method, “China CRRC Group” needs to use optical three-dimensional inspection equipment to carry out product inspection and secondary design on the produced moving wheel pairs. The shape-moving technical engineer proposed a solution: using the large-format 3D scanner α7000 for wheel-to-pair 3D inspection and analysis, and obtained a comprehensive analysis and test report, providing an effective solution for the “China CRRC Group” moving wheel pair detection.
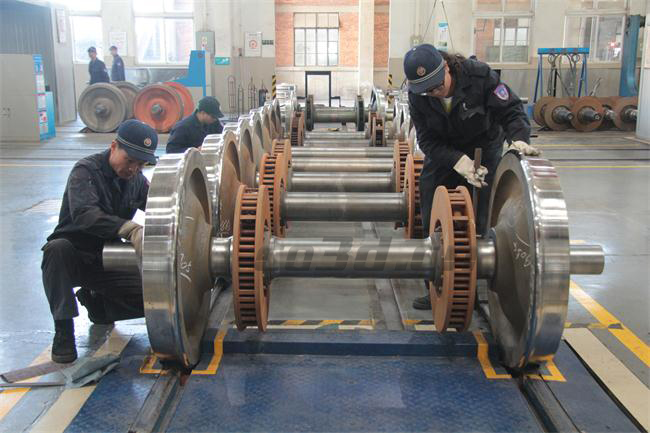
Moving car wheel to physical map
Scanning equipment:
3D scanner α7000
Features:
1. Carbon fiber military engineering material: high stability, strong thermal shock resistance, small thermal deformation coefficient, higher scanning accuracy and stronger stability
2, 13-step code calibration technology: eliminate lens error
3. Extrapolation multi-frequency phase shift: uniform fringe projection
4, compatible photogrammetry system: higher precision
5, granite calibration source
6, patent design: eliminate the problem of multi-angle scanning stitching
7, the cumulative scanning accuracy is very high, a single machine can complete the workpiece scanning about 4m
8, multi-mode scanning, easy to adjust
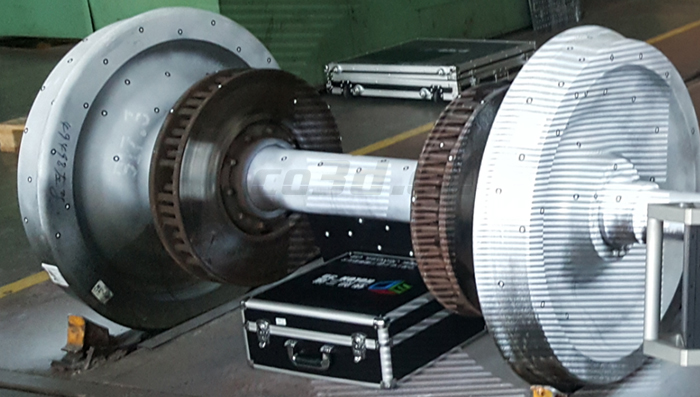
Moving car wheel to the scene scan
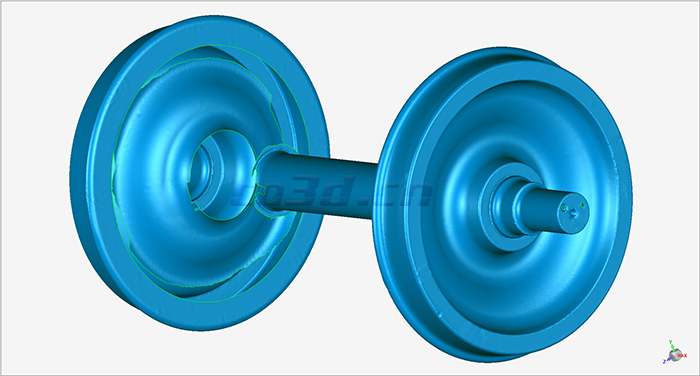
Moving car wheel to STL data chart
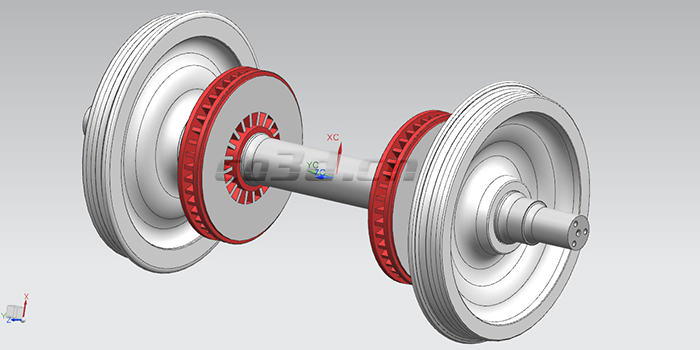
Moving car wheel to original digital model
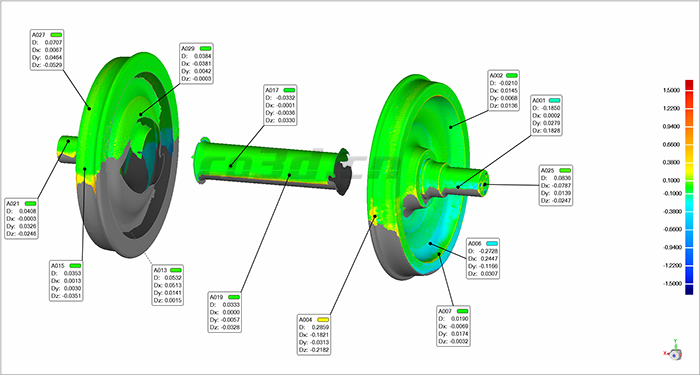
Raw digital model and 3D scan data comparison detection chromatogram
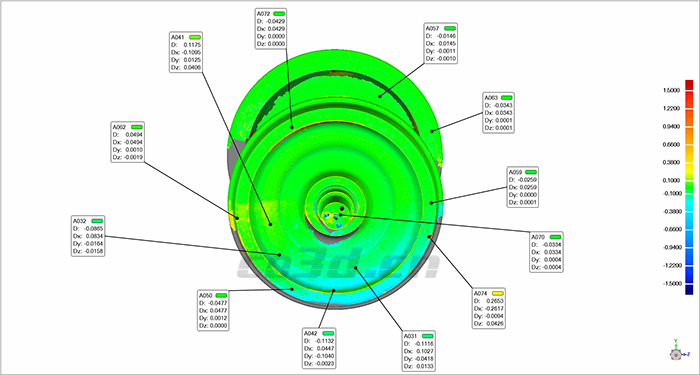
Raw digital model and 3D scan data comparison detection chromatogram
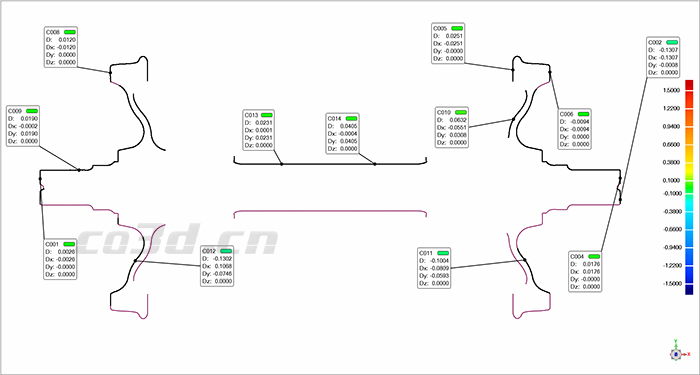
Moving wheel pair 2D section size drawing
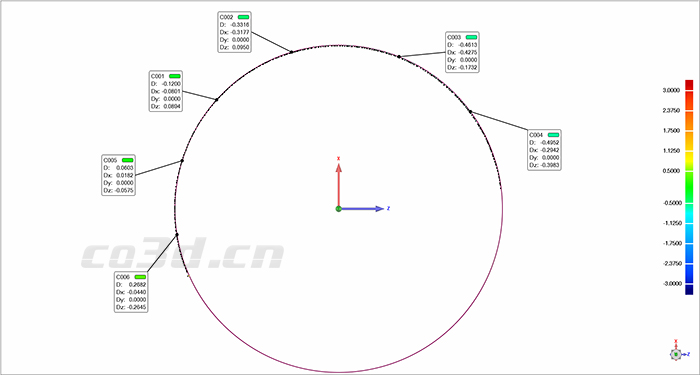
Moving wheel pair 2D section size drawing


