- A +
- A
- A -
A large-scale CNC manufacturing enterprise in Nanjing needs to perform three-dimensional inspection on large-scale composite molds that have been machined to obtain high-precision three-dimensional data. Huaguang engineers use 3D photogrammetric system 3DP to test whether large-scale composite molds are qualified.
Practical problems
1. Large-scale composite material mold size (about 7 meters long, about 2 meters wide), large size, inconvenient movement, uneven edge contours, more grooves in the water chest surface. Traditional measuring tools (such as gages, secondary elements, three coordinates, etc.) simply cannot perform inspections.
2. Due to the large volume of composite molds and the use of traditional 3D scanners, the time is long and the data quality is not high, and the error is large, which can not meet the customer's quality inspection of large molds.
solutions
In order to eliminate the scanning cumulative error and complete splicing, the Huaguang 3D technical engineer proposed to use the 3D photogrammetric system 3DP to quickly acquire the 3D data of the large composite mold + reverse design. Software (convert large mold point cloud data into triangular mesh surface data) + import design software for post processing, and get detection analysis report.
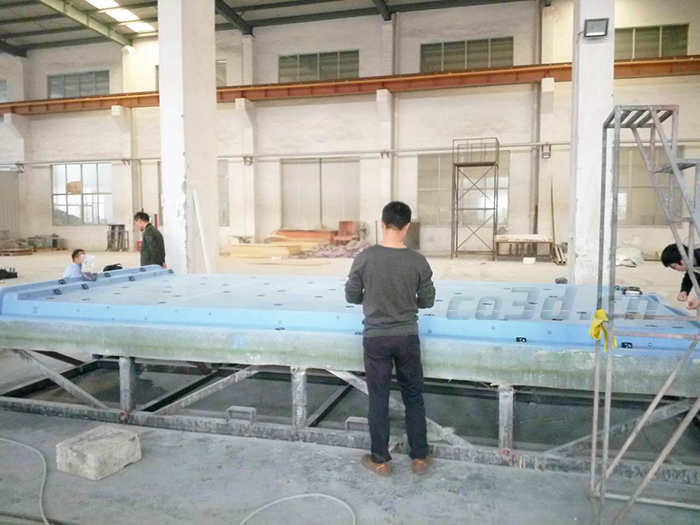
Preparation of large composite molds before testing
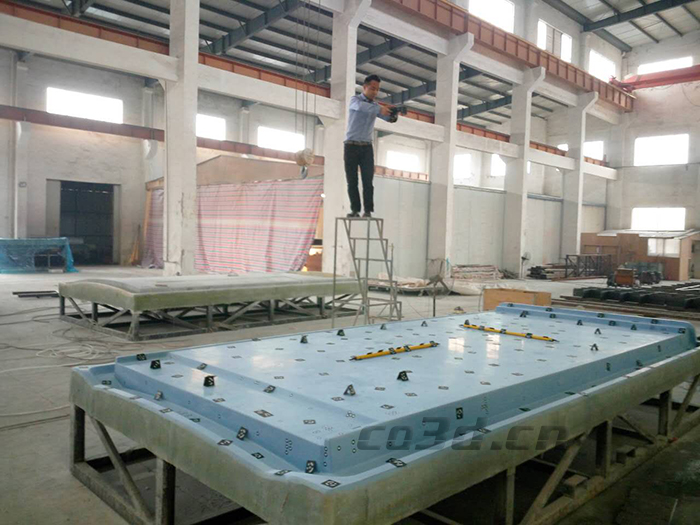
Large-scale composite mold on-site inspection chart
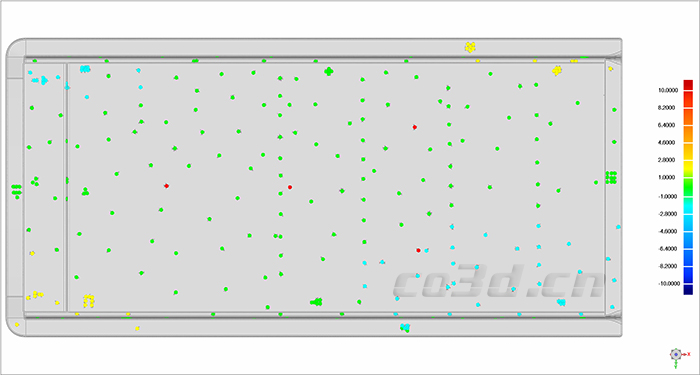
Large composite mold comparison detection chromatogram
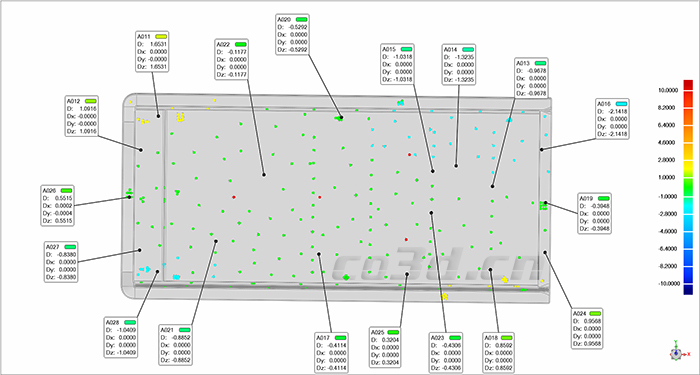
Large composite mold comparison detection chromatogram
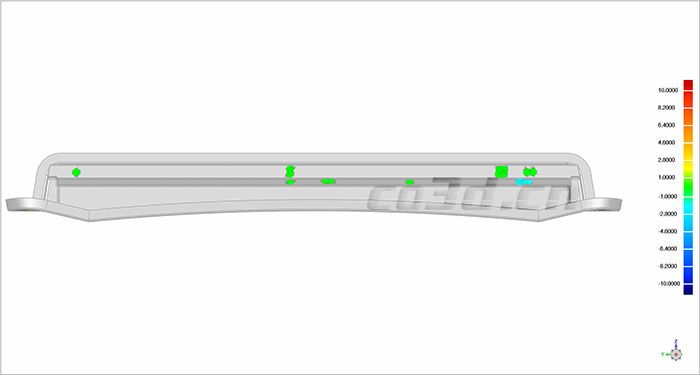
Large composite mold comparison detection chromatogram


