Back
Case Case
Three dimensional scanning of ship pistons
Release time:2024-05-17 Views:257
  • A +
  • A
  • A -

With the rapid advancement of technology, there are more and more means of transportation, and ships are one of the important means of transportation, so every component of ship construction is of utmost importance. In ships, there are usually four pistons, and the piston is one of the important components composed of a cast iron skirt and a heat-resistant steel head, which are tightly connected to the piston rod through bolts. The grooves and locating pins on the piston head ensure precise positioning between the components.
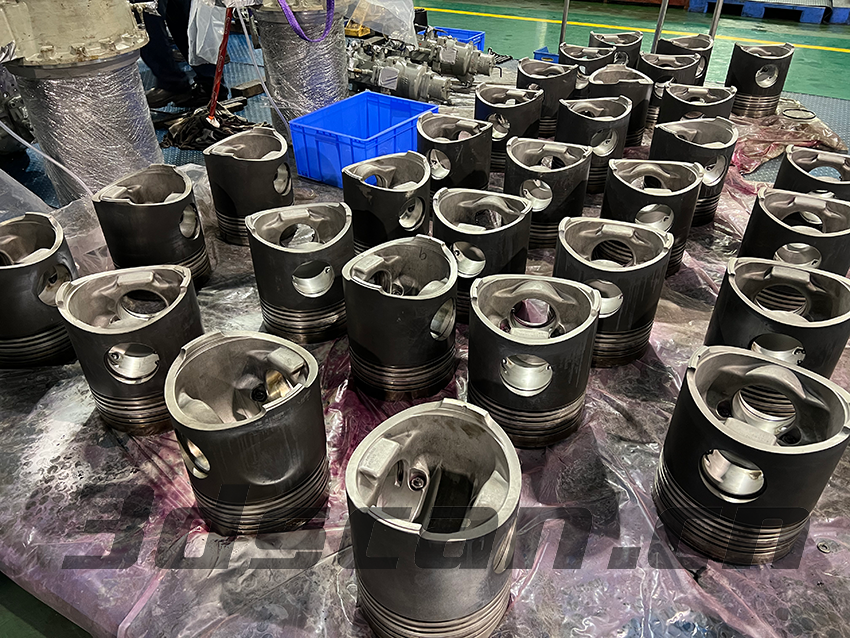
Physical picture of ship piston on site

Facing problems

The piston has an irregular cylindrical shape and a surface with ring grooves, which are prominent and uneven. There are holes on all three sides, and the holes on the side are connected, which can easily lead to incomplete scanning; The bottom is hollowed out, with a complex and uneven structure inside, and there may be unevenness around the edges.

If traditional 3D scanners are used, difficulties will be encountered during the scanning process, such as slow scanning speed, uneven scanning of details and deep holes, resulting in low overall scanning data accuracy, inability to solve the problems faced, and inability to provide a good solution.
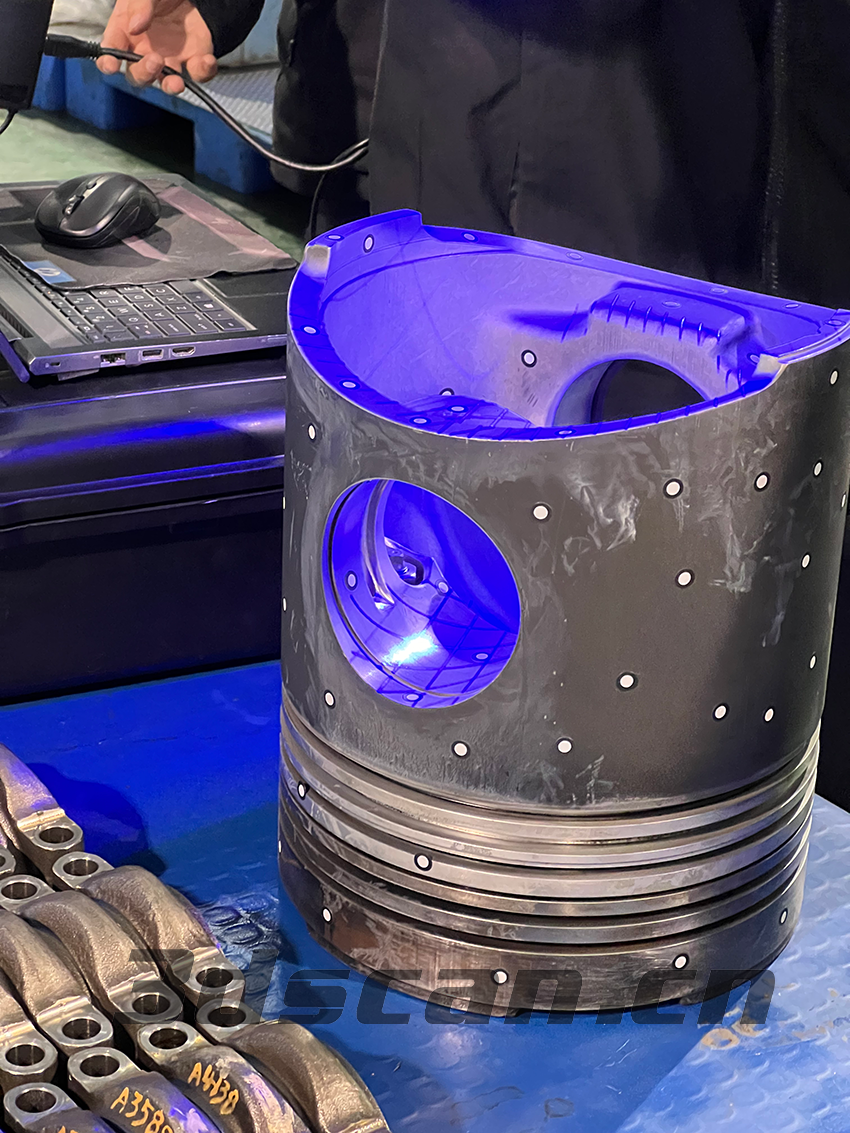
Physical picture of ship piston on site

Solution

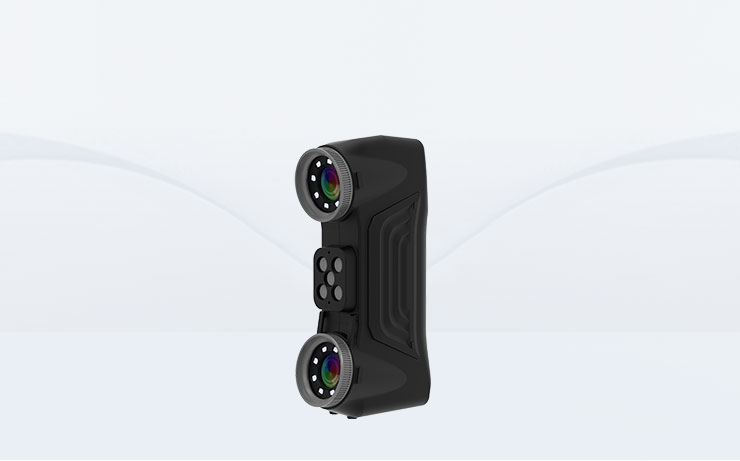
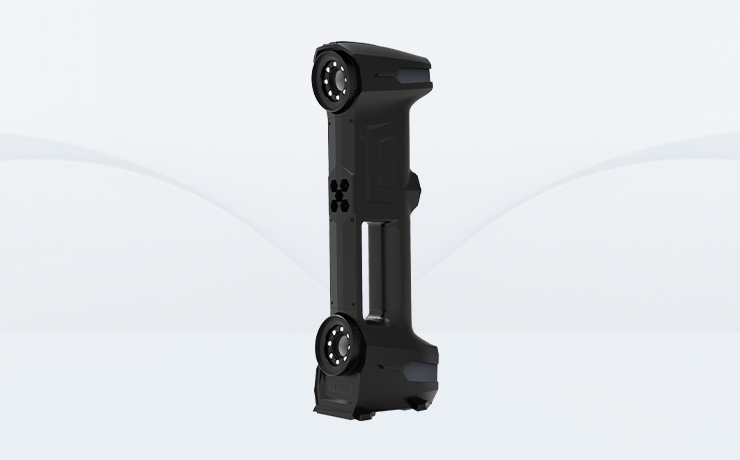
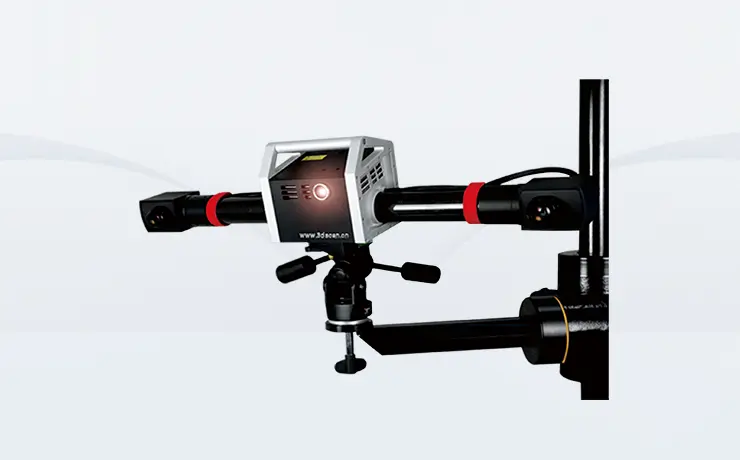
Based on the understanding of the issue, our engineers use Model 49, which has extremely fast scanning speed, strong capture ability, and strong stability. It can also be switched to a single laser scanning mode. The device is easy to operate and takes a short time. The overall scanning speed is very fast, and the data is complete with high accuracy. Effectively solved the problems faced, provided complete and reliable data, and brought great help to the later stage.
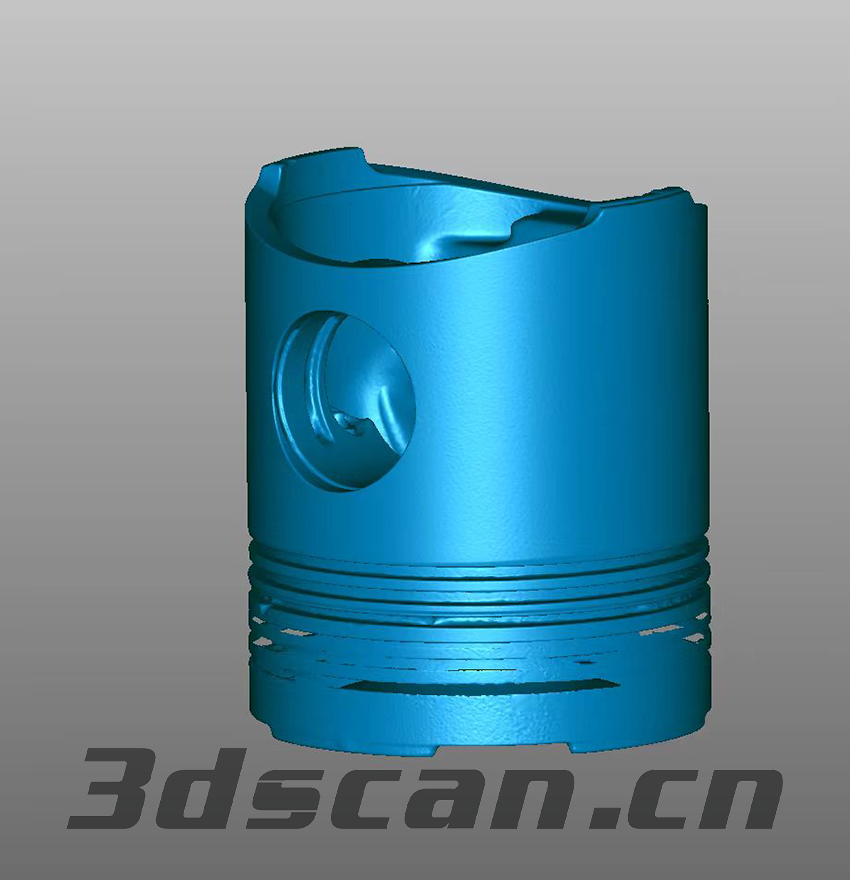
Ship piston STL data chart
Related Products
Thorscan R
Thorscan R
2024-02-26
The automated 3D online inspection system acquires product contour data through optical non-contact scanning using laser sensors, and transmits real-time data to the processing unit. Through the processing unit's decision-making, it adjusts the control unit to achieve online adjustments and optimize results. Consequently, 3D online inspection can effortlessly facilitate the screening of defective products and sorting of product types, akin to equipping the production line and robotic arms with a pair of eyes, thereby enhancing production efficiency and yield rates.
α7000
α7000
2024-04-24
The camera-type 3D scanner (α7000) adopts the world's new coding calibration technology, which is the core mastery and application of 3D photogrammetry technology. It reduces physical distortion and improves the scanning accuracy of original 3D data. Heterodyne multi-frequency phase-shifting grating technology is used to improve the quality of scanning point clouds. Synchronized with the German gom company, it truly has a blue light device scanning system, and the photo-type 3D scanner scans data point spacing up to 0.01mm, which is suitable for scanning fine workpieces; it adopts a new core design concept and applies carbon fiber materials to improve the stability of the product during operation. .
Smart 29
Smart 29
2024-02-23
Smart 29 has a total of 29 blue laser lines, using 14 crossed blue laser lines for wide range mode, standard mode + 14 crossed blue laser lines for precision mode + 1 blue laser line for deep hole scanning ; Miniature design, not restricted by the on-site environment, flexible and portable, adaptable to a variety of working conditions, and can be measured anytime and anywhere.