- A +
- A
- A -
Practical problems
1, the use of traditional measurement methods is very cumbersome, time-consuming and insufficient data collection (insufficient data) accuracy is difficult to guarantee, for the irregular arc surface of the workpiece can not be effectively measured, it is impossible to normal detection of precision instrument accessories.
2, precision instrument accessories are small and complex, the ring groove is different and there are more dead angle shadows, the customer needs to accurately measure the three-dimensional size of the annular groove contour, which brings great difficulty to the traditional measurement work.
solutions
In view of the complex shape of the precision instrument accessories, the different annular grooves and the more dead-end shadows, the 3D technical engineer proposes a solution: using the camera-type 3D scanner HL-3DS to quickly scan the 3D data of the precision instrument accessories, the scanning process is not only Fast speed, high precision, easy operation and short time, meet the scanning needs of customers and successfully solve the problems faced by customers.
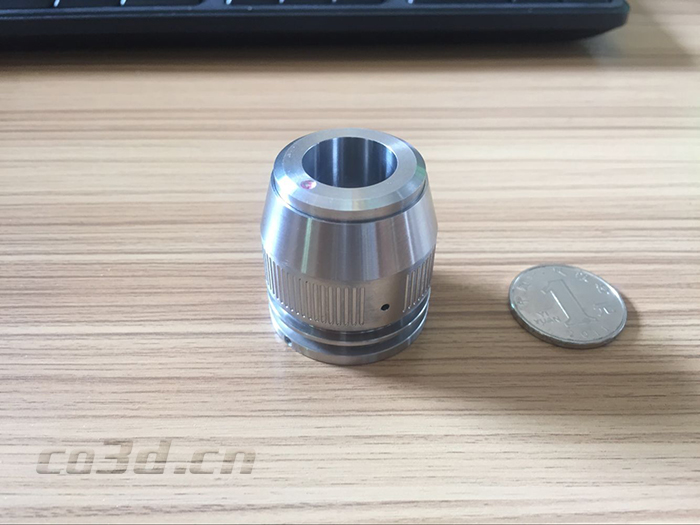
Precision parts physical map
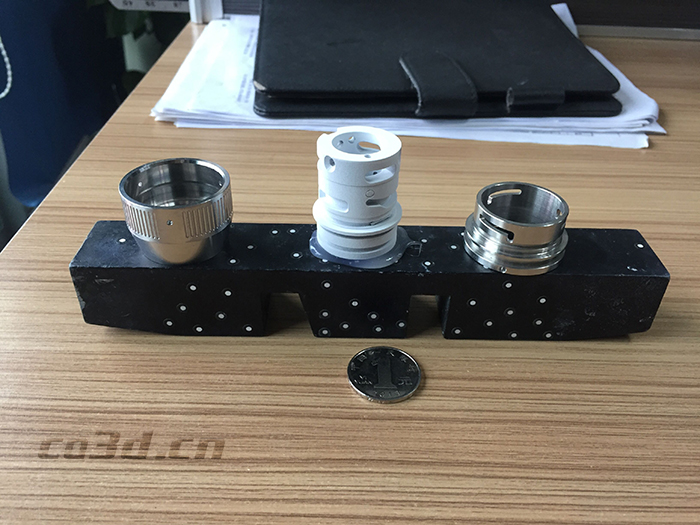
Precision parts STL data chart
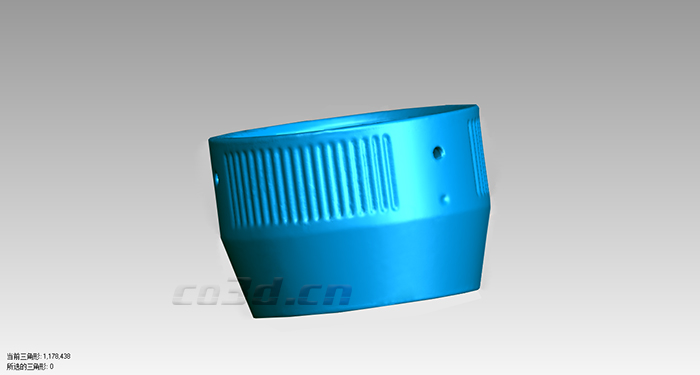
Precision parts STL data chart
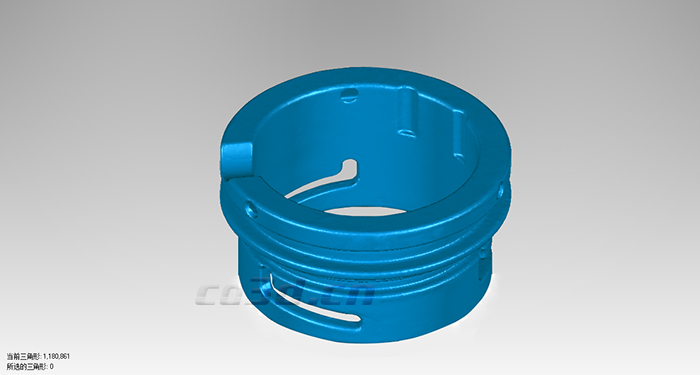
Precision parts STL data chart
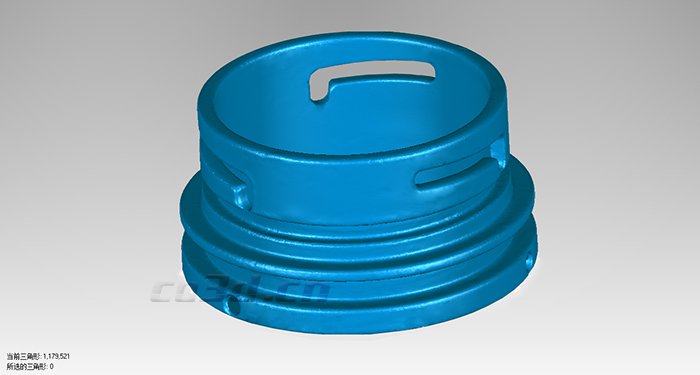
Precision parts STL data chart
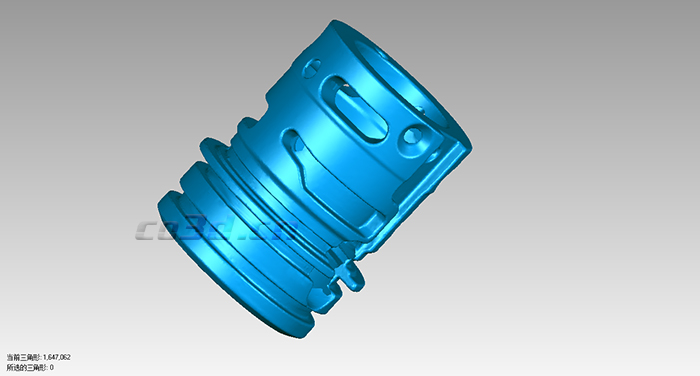
Precision parts STL data chart
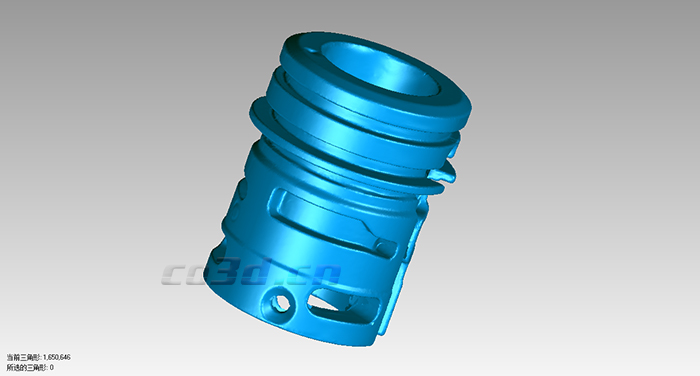
Precision parts STL data chart


