- A +
- A
- A -
A well-known enterprise in Sichuan needs to perform three-dimensional inspection on the base of the robot arm to obtain high-precision three-dimensional data, and analyze whether the production of the base of the robot arm is qualified, so as to solve the problem that the robot arm base cannot be properly installed and matched, and Huaguang 3D provides solutions for the enterprise. Program.
Practical problems
1. The base of the arm is large and cumbersome, and the shape of the base is irregular. It is difficult to detect. It is necessary to measure whether the base of the arm and the mounting hole of the arm match.
2. The scene light is bright, the interference is relatively large when scanning, the customer needs to quickly scan the base of the robot arm, and the scanning data requires high precision, and is used for comparing the three-dimensional detection of the base of the robot arm with the original digital model.
solutions
In the detection of the base of the robot arm, due to the large volume and cumbersome, the accuracy of the local contour mounting hole position is very high. The traditional detection method is used for measurement. Many sizes and shape features cannot be effectively measured, which is prone to secondary error and influence. The product is installed efficiently. In order to abandon the traditional detection method, the company uses industrial 3D scanners to test the quality of the robot arm base and develop a reasonable design plan. Huaguang technical engineer proposed a solution: using the newly developed 3D scanner W3000 of Huaguang to carry out 3D data acquisition on the base of the robot arm, and obtain a 3D inspection and analysis report, which provides an effective installation solution for the production of forging CNC hammer.
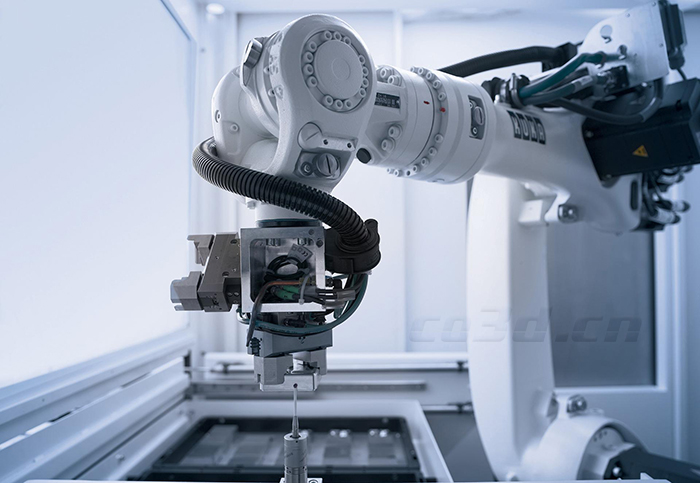
Robotic arm base renderings
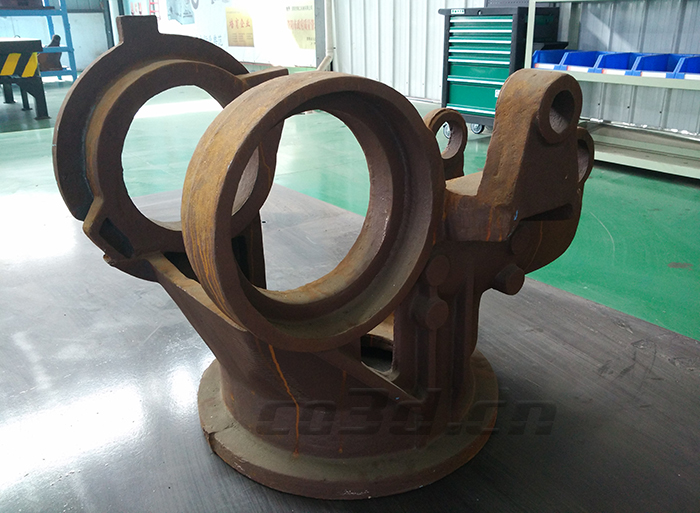
Robotic arm base physical map
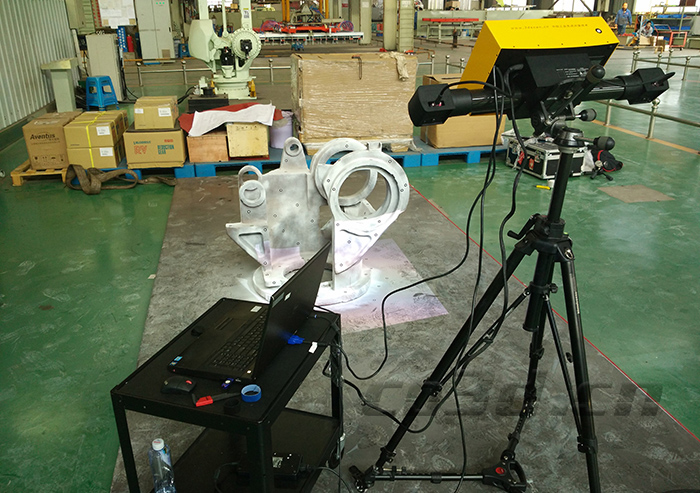
Robotic arm base scanning site
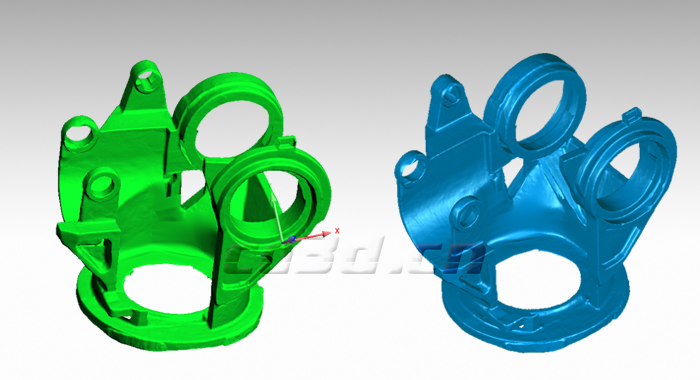
Robotic arm base three-dimensional data map
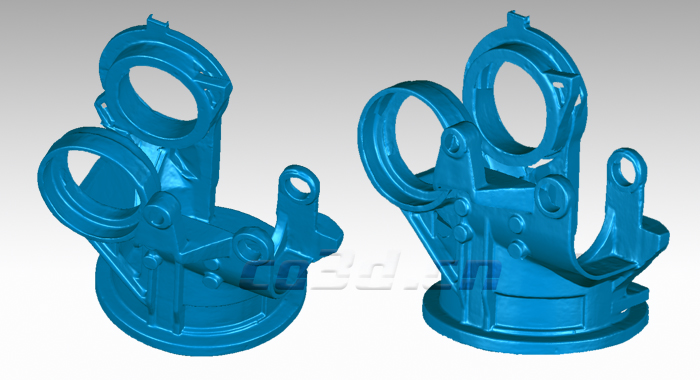
Robot arm base STL data chart
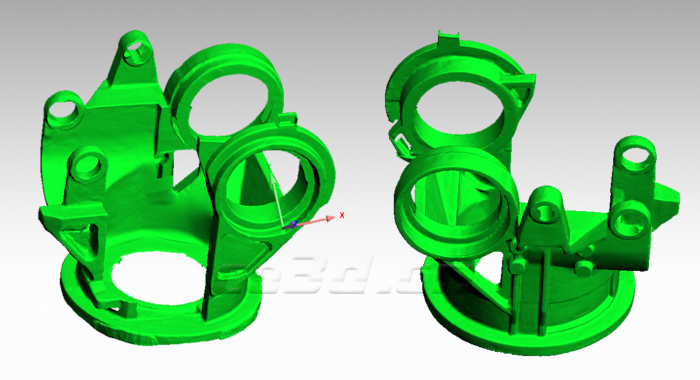
Robot arm base STL data chart


