- A +
- A
- A -
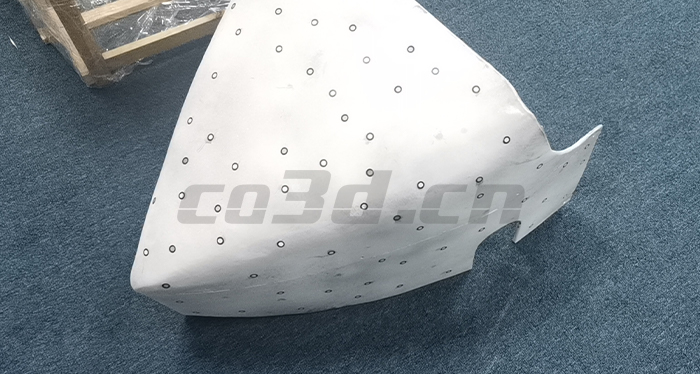
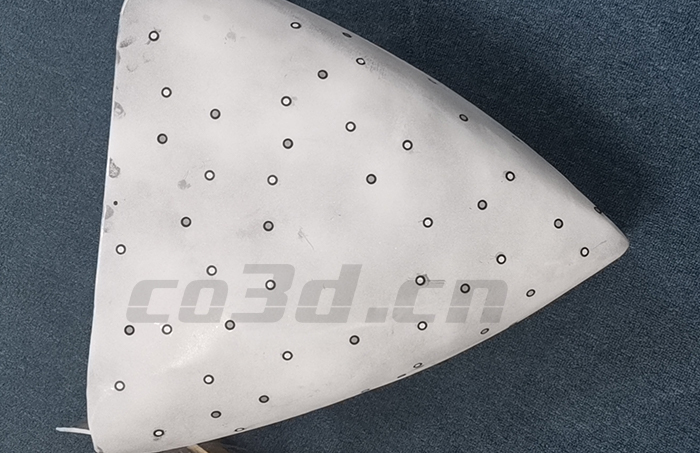
The shell is made of stainless steel as the main raw material. As there is no original design drawing, repair and redo cannot be carried out in the later damage process. Therefore, the customer wants to adopt a new type of 3D scanning technology to collect shell data for reverse design, and later design processing is put into production.

Site scan
Practical problems
Customers require convenient operation, fast scanning speed, and high accuracy to facilitate future work and speed up production steps. The surface of the shell is reflective and both sides are smooth and curved. The space inside is small and there are dead corners that are not easy to scan, which brings difficulty to the scanning work.

Site scan
solution
According to the problems faced, use our handheld 3D scanner HOLON751. This device has fast scanning speed, high accuracy and strong stability. The appearance is small and exquisite, the operation is convenient, the applicable range is very wide, because it has multiple scanning modes, multi-line scanning, single-line scanning, fine scanning. First, you need to spray developer on the surface. Because the surface is smooth and has no texture features, you need to paste the mark points to assist the stitching. When scanning the inside, you can switch to the single-beam laser scanning mode, which is suitable for scanning deep holes and dead corners. The scanning process is only It takes ten minutes, which greatly improves work efficiency.

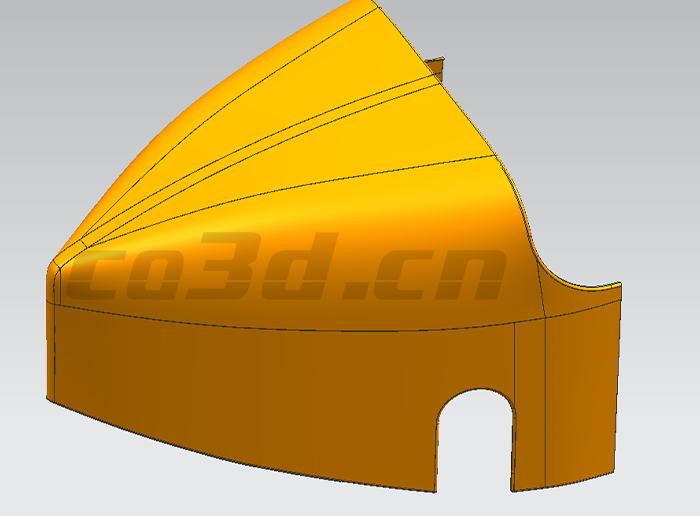
Scan inverse graph

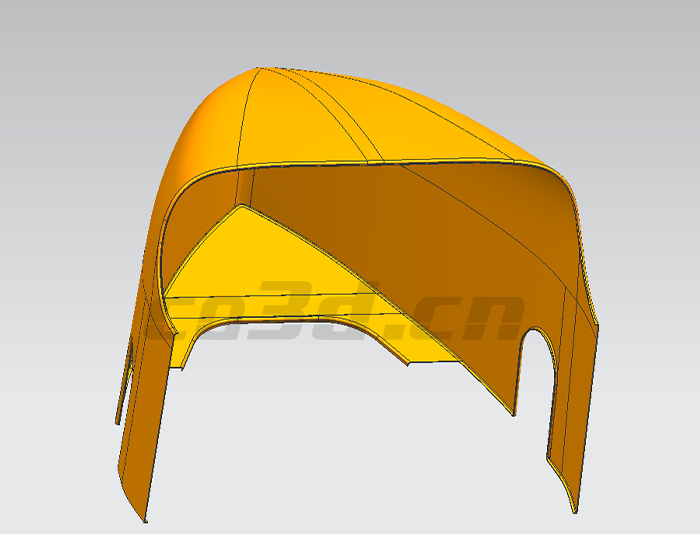
Scan inverse graph


