- A +
- A
- A -
客户是一家生产及销售为一体的知名泵生产企业,客户需要对水泵叶轮进行质量检测,为了迎合市场需求提高企业竞争力客户决定摒弃传统的检测方法,引进新型测量手段,客户慕名而来特邀我司进行产品演示,快速精确的获取详尽三维检测结果,分析产品是否合格,提高产品质量及产品开发率。
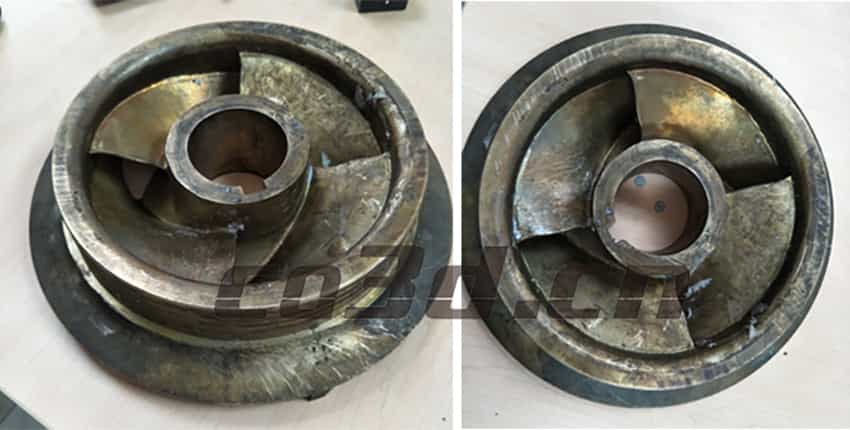
Actual picture of water pump impeller on site
1. The water pump impeller is small in size and has dark black and metallic reflective surfaces in parts of its surface, making it more difficult to scan. The product is prone to deformation during the production process, so the quality control of the water pump impeller is particularly important, and customers require very high precision.
2. Simply using traditional detection methods (such as inspection tools, jigs, three-dimensional coordinates, etc.) is difficult and time-consuming. The process is cumbersome and time-consuming, and it is not easy to accurately and quickly measure structures such as the curvature of the water pump surface. detection.
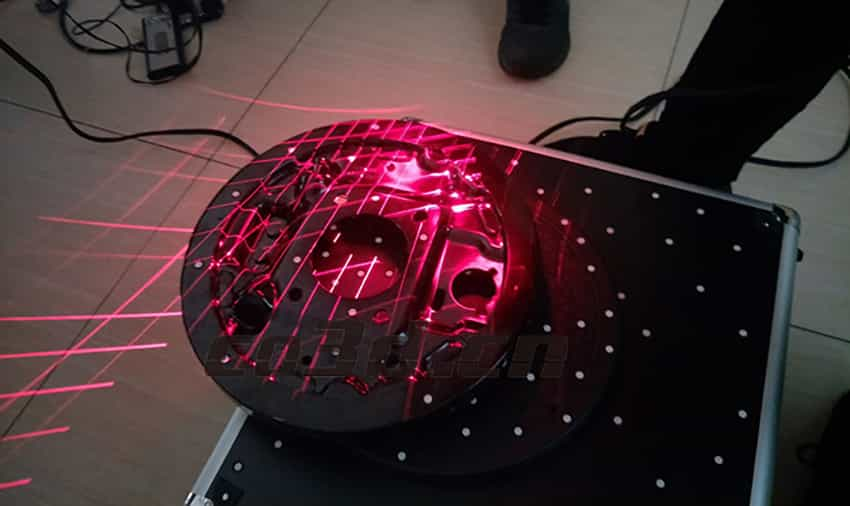
Water pump impeller scanning site picture
The water pump impeller is small in size and has a large curvature on the impeller surface. The surface of the impeller is dark black and has a metallic reflective surface, making it difficult to scan. The customer requires fast scanning speed and very high accuracy. Our peers use traditional detection methods for measurement, which not only requires spraying of developer , and the scanning speed is slow, the workflow is complex, and it takes a long time to scan the workpiece. Many dimensions and shape features cannot be effectively measured, which easily produces secondary errors and affects the production quality and production efficiency of the product.
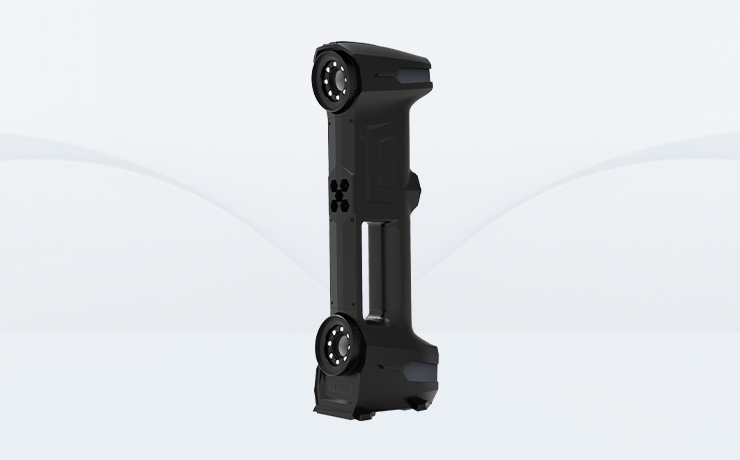
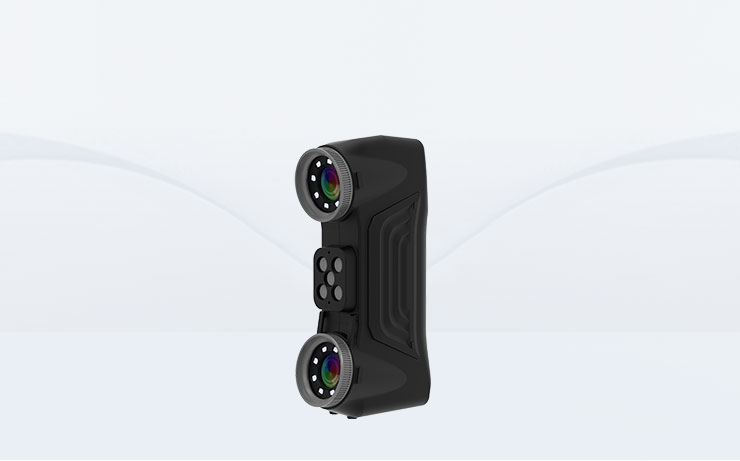
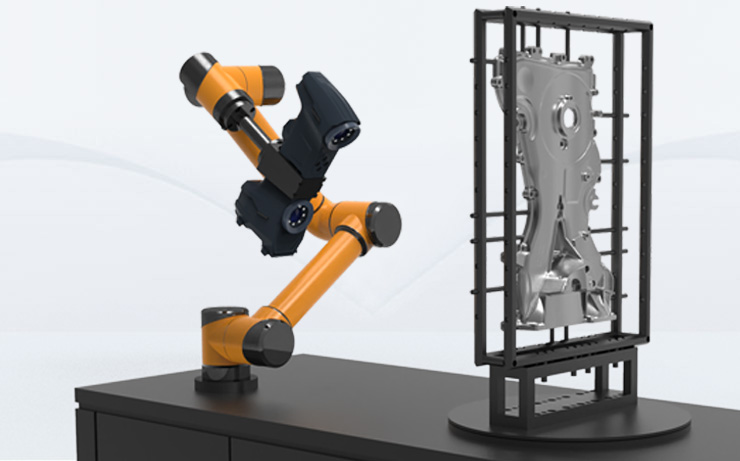
In response to the problems faced by customers, HOLON 3D technical engineers used thehandheld 3D scanner Model 37 to quickly and accurately obtain the 3D data of the impeller. The scanning is convenient and quick without spraying developer, and the scanning speed is fast and the measurement accuracy is high. Successfully solved the problems faced by customers.
Applicable fields:
Automobile scanning and parts, aircraft parts, ships, large blades, large castings, mold impellers, engineering machinery, 3D printing, scientific research and teaching, etc.
Features:
● Light source form: 22+14+1, 37 in total, making scanning faster, more accurate and more stable.
●Single beam laser: can be switched to single laser scanning mode, suitable for scanning deep holes and dead corners
●Measurement accuracy: up to 0.020mm, resolution up to 0.010mm, not affected by the environment, workpiece structure and user capabilities
● Industrial design: light weight (0.92kg), easy to carry, easy to operate, greatly improves work efficiency, and new independent research and development technology is guaranteed
● Three-dimensional photogrammetry function: The system comes with photogrammetry function, which makes the scanning accuracy higher and the technical level is better than that of the same industry.
● Mobile scanning: can be carried with you, can be used indoors and on-site, and is suitable for various complex scenes
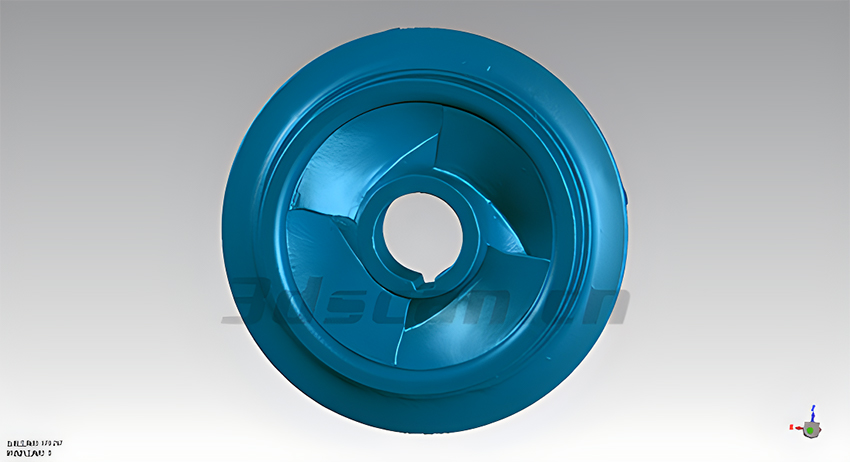
Water pump impeller STL data chart
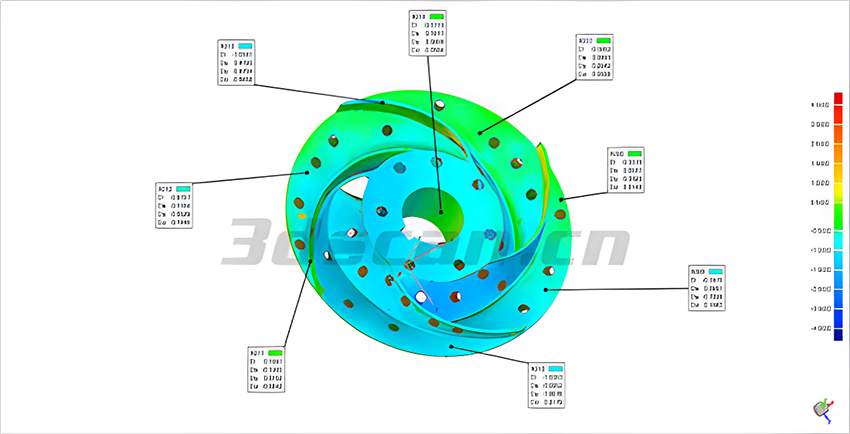
Comparative analysis chart of water pump impeller
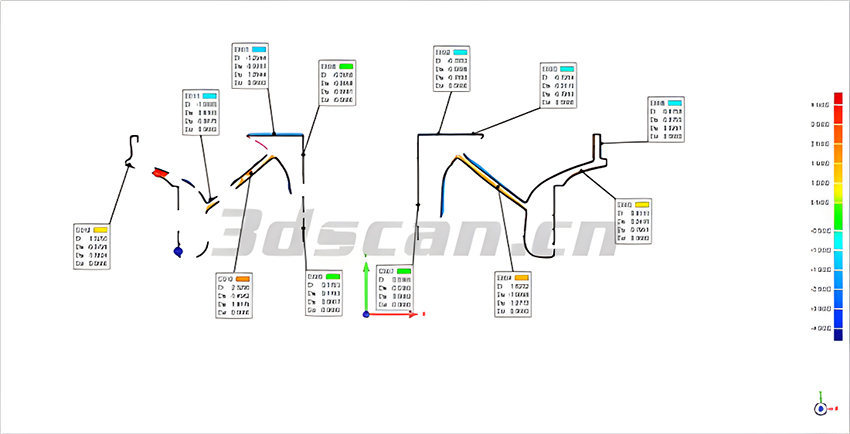
2D cross-section view of water pump impeller
