- A +
- A
- A -
Three-dimensional inspection of automobile front end assembly
In recent years, under the guidance of aesthetic principles and ergonomics, the design of car bodies, interior and exterior decorations, and spare parts has become increasingly changing. Creative design can be directly marketed to the sales volume of automobiles, and product quality testing can be conducted on the whole and parts of automobiles, which can shorten the research and development cycle and improve product competitiveness.
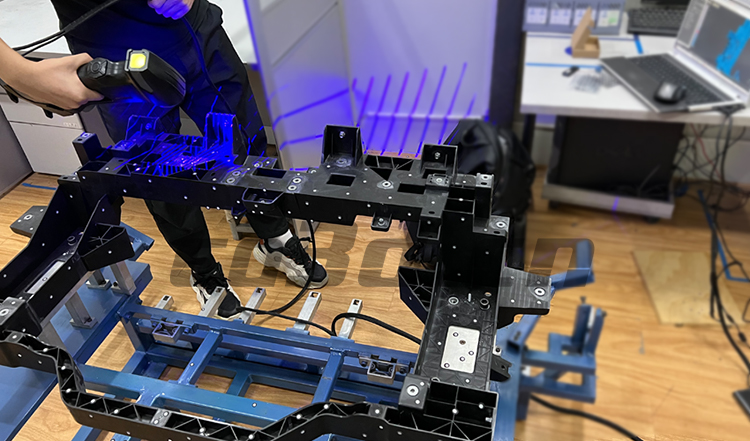
Scanning scene map of vehicle front end assembly
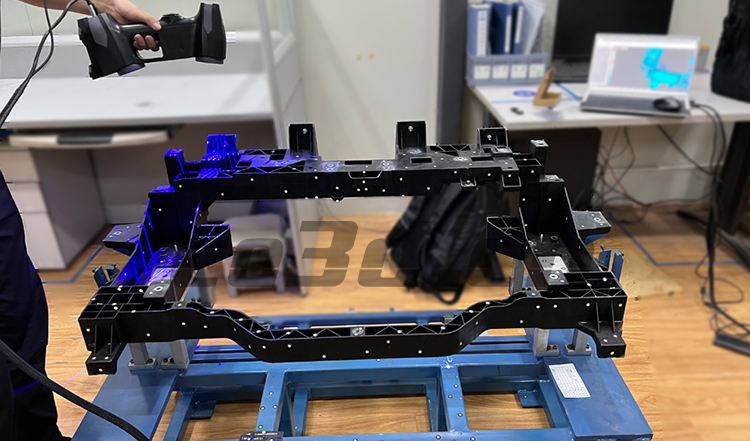
Scanning scene map of vehicle front end assembly
Practical problem
(1) The workpiece of the customer's product has a black and dark surface, with complex overall contour and many mounting holes;
(2) The customer needs to conduct 3D inspection data model analysis on the front end assembly such as installation hole position and overall profile;
(3) Customer products have large workpieces and require high measurement accuracy. Traditional measurement methods cannot accurately, comprehensively, and quickly measure three-dimensional data on the surface of automotive parts, and there is a lack of effective measurement solutions for complex contours and narrow dead corners.
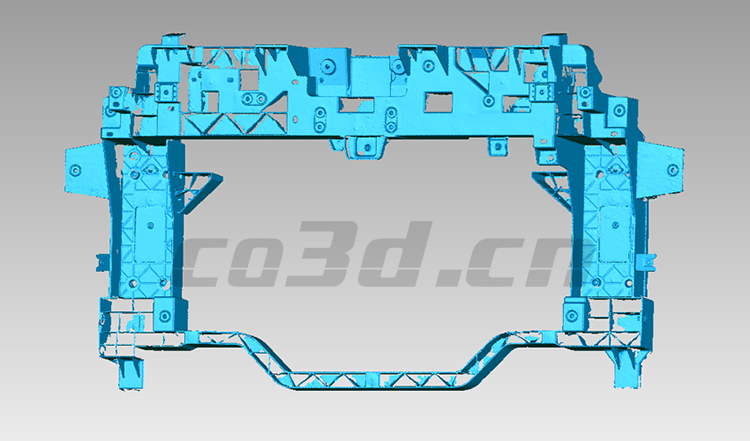
Vehicle Front End Assembly STL Data Diagram
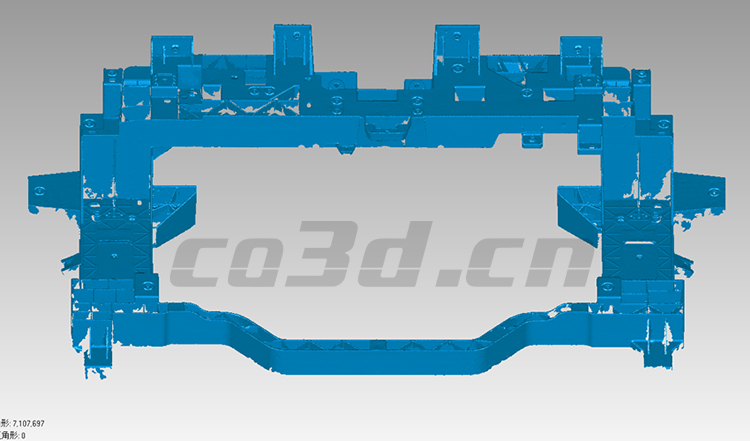
Vehicle Front End Assembly STL Data Diagram
Solutions
(1) 'HOLON B71' can be used to quickly and accurately scan 360 ° internal and external automotive trim products such as main and auxiliary instrument panels, fully plastic tailgates, door panels, bumpers, front end frames, wheel housings, window frames, and other work pieces. What you see is what you get;
(2) Hualang 3D scanning system has strong adaptability to ambient light and workpiece surface sensitivity, and does not need to spray color difference agent on the surface of the tested object;
(3) High scanning accuracy can greatly improve workpiece detection efficiency, improve processing technology and product quality, and shorten the development cycle of new products;
(4) Import the 3D data of the scanned workpiece into the inspection software for comparative analysis with the original digital simulation, and quickly obtain a model analysis report.
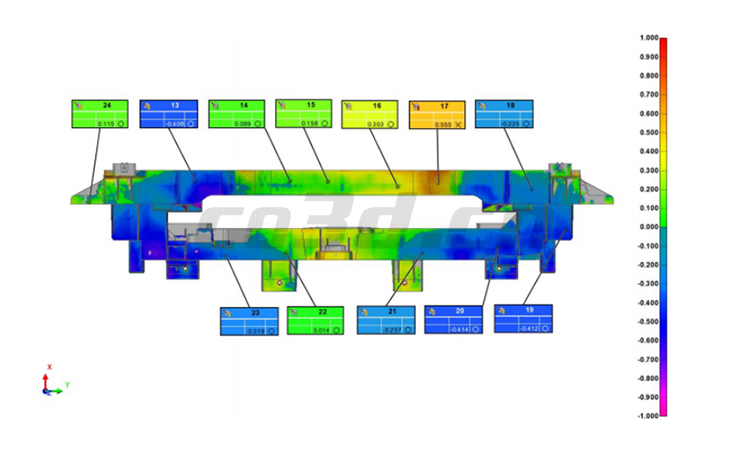
Comparative Inspection Diagram of Automobile Front End Assembly
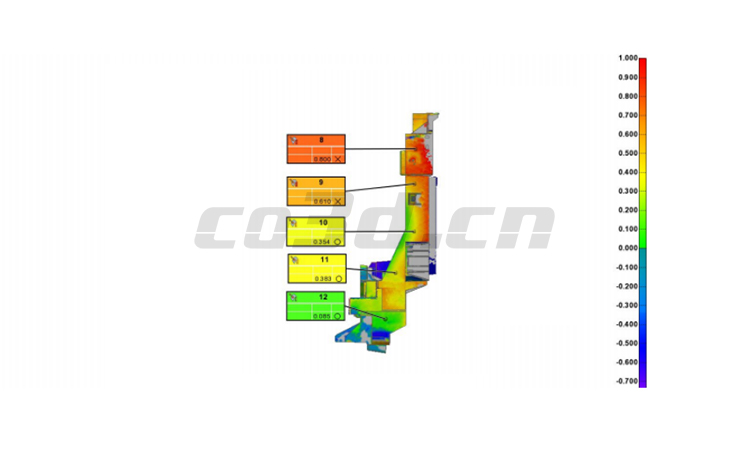
Comparative Inspection Diagram of Vehicle Front End Assembly Side


