- A +
- A
- A -
A well-known aircraft manufacturing company in Shanghai hopes to use a 3D scanner to quickly obtain the appearance data of the side of the original oversized drone mold, and use reverse engineering software to re-design the drone mold to accelerate the development of new products and improve production efficiency.
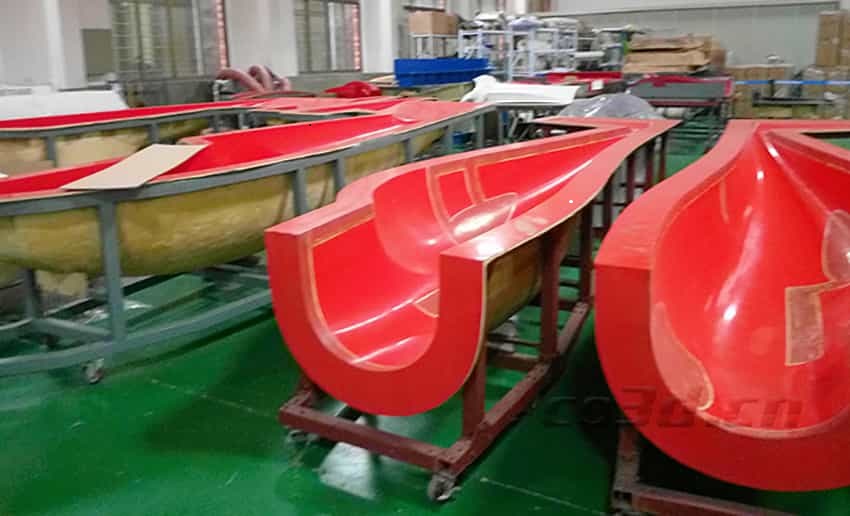
Drone mold site picture
1.Since the drone mold scanning data involves later reverse engineering and quality inspection, customers have very high requirements for the accuracy of the scanning data.
2.The drone mold is large in size, with many surface radian and large curvature changes. It is very cumbersome to use traditional measurement methods (such as inspection tools, fixtures, three-dimensional coordinates, etc.), which not only wastes time, but also does not obtain enough accuracy. precise.
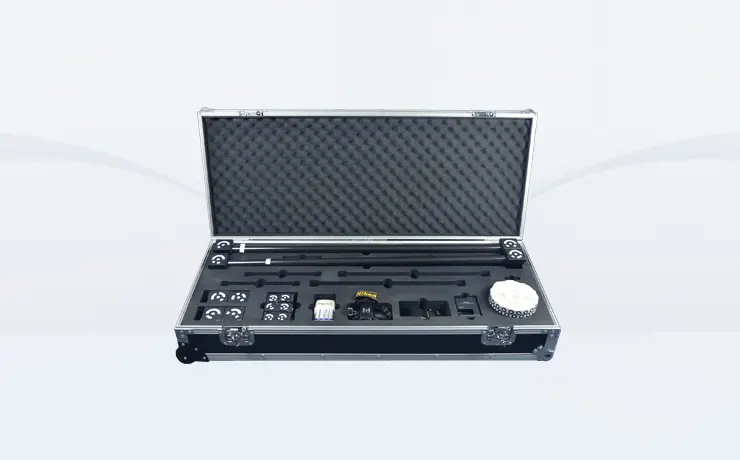
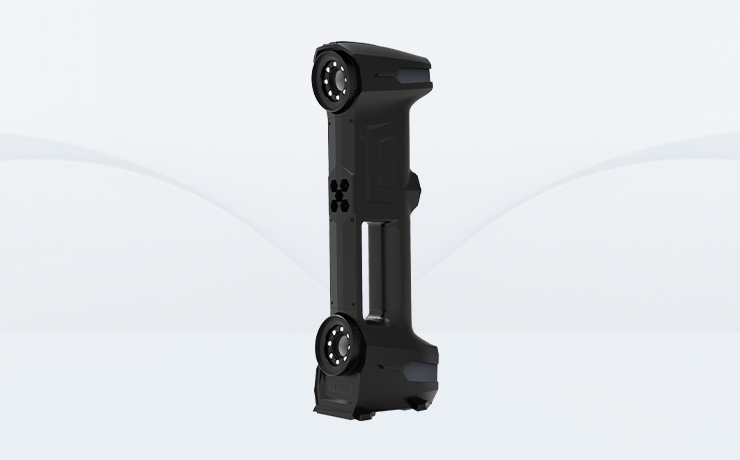
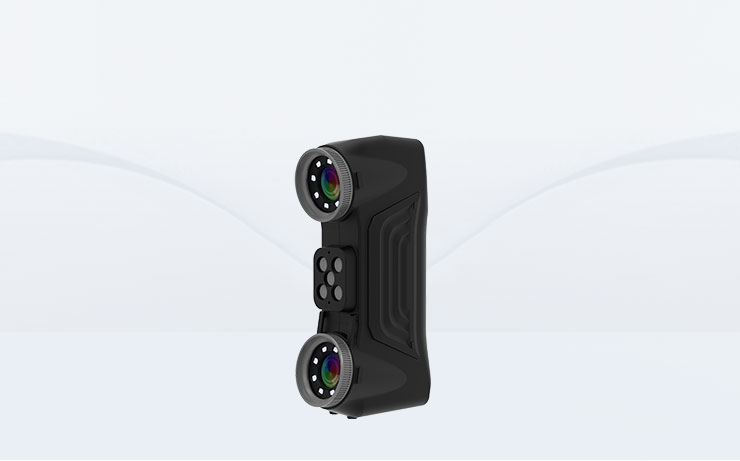
In view of the fact that the UAV mold is large in size and has many curved surfaces, HOLON 3D engineers proposed a solution using scanning equipment: 3D scanner α7000; 3D photogrammetry system HL-3DP.
1. HOLON 3D engineers use the three-dimensional photogrammetry system HL-3DP to photograph the tested mold from different angles, and then import the captured pictures into the photogrammetry software. The software will automatically calculate the overall frame of the tested blade based on the triangulation principle. point.
2. The three-dimensional scanner α7000 conducts comprehensive three-dimensional measurements of the drone mold and obtains three-dimensional measurement data of the wind turbine blades.
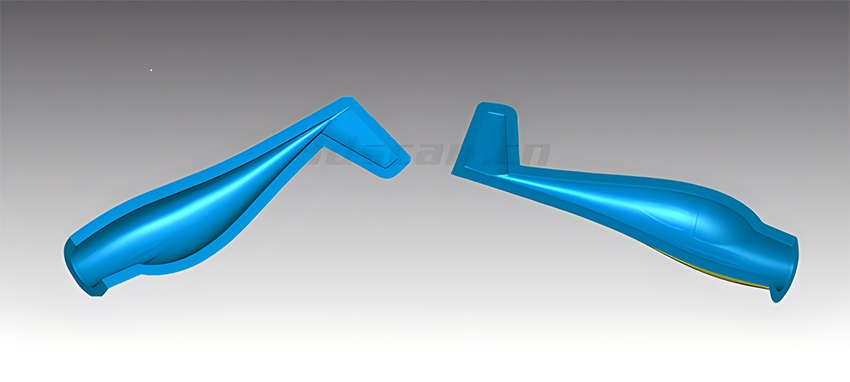
Drone mold STL data chart
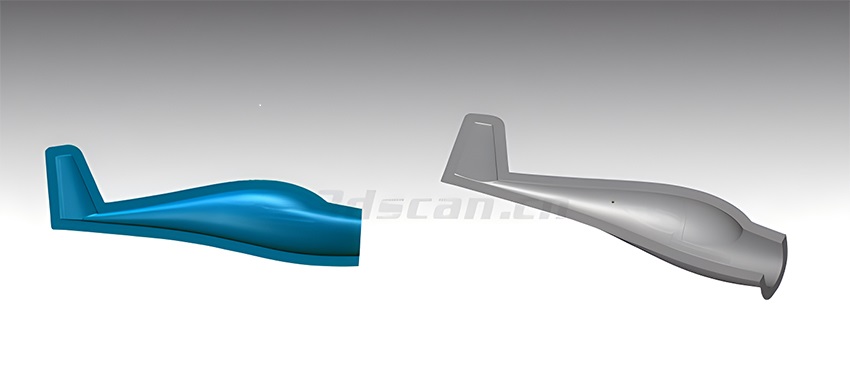
Drone mold STL data chart
