Back
Case Case
Aircraft engine soundproof cabin 3D scanning case
Release time:2024-04-25 Views:300
  • A +
  • A
  • A -

        A large German airline uses our 3D scanner combined with the photogrammetry system to conduct 3D measurements of the aircraft engine soundproof cabin to obtain ultra-high-precision 3D data, detect and analyze whether the product is qualified, and lay the foundation for later reverse design mold opening and processing, saving money. cost.

Facing problems

        1. Due to the large size of the soundproof cabin of the aircraft engine, high surface precision requirements and inconvenience to move, when measuring with a camera-type 3D scanner, the cumulative error will be too large. How to eliminate the impact of the error is the biggest problem faced.

        2. The use of traditional measurement methods not only takes a long time, but also obtains limited data and cannot accurately measure the three-dimensional data of the aircraft engine soundproof cabin surface, making it impossible to perform complete scanning and data splicing. It is also impossible to complete the quality inspection of the aircraft engine soundproof cabin.

Solution

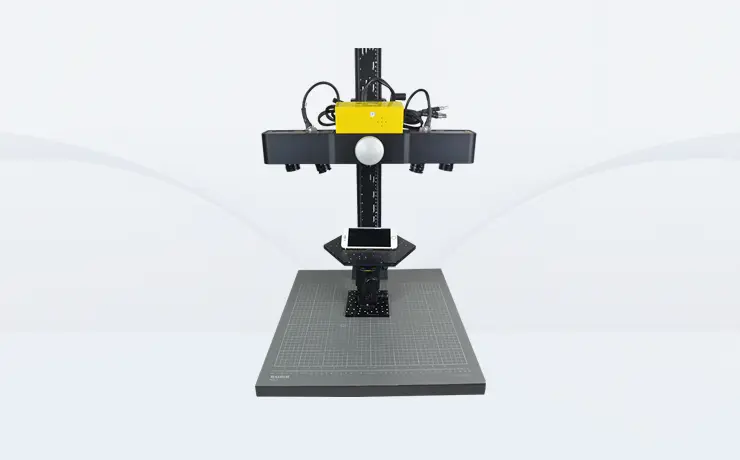
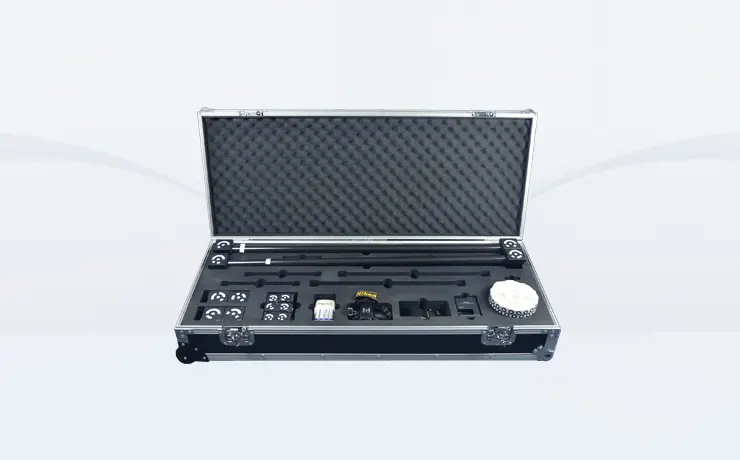
        In response to the problems faced by the company and scanning objects, HOLON technical engineers proposed a solution: using the photo scanner HL-3DS+ and the three-dimensional photogrammetry HL-3DP to quickly and accurately obtain the three-dimensional data of the aircraft engine soundproof cabin combined with reverse design The software provides powerful data for the detection, design and mold opening processing of aircraft engine soundproof cabins, solves all problems faced, and meets customer needs.

Aircraft engine soundproof cabin scanning site

Aircraft engine soundproof cabin photogrammetry shooting scene
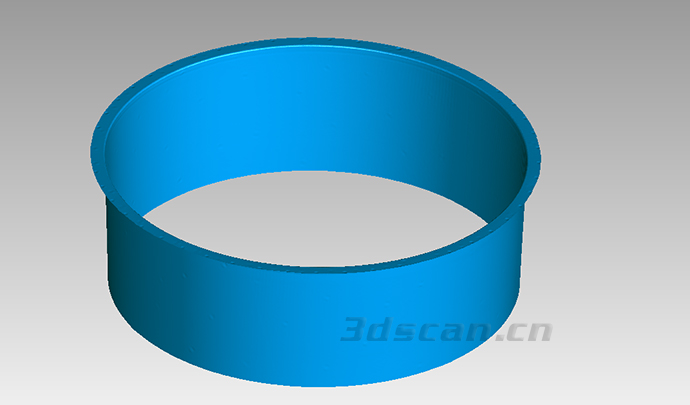
Aircraft engine soundproof cabin STL data chart

Aircraft engine soundproof cabin STL data chart

3D data diagram of aircraft engine soundproof cabin
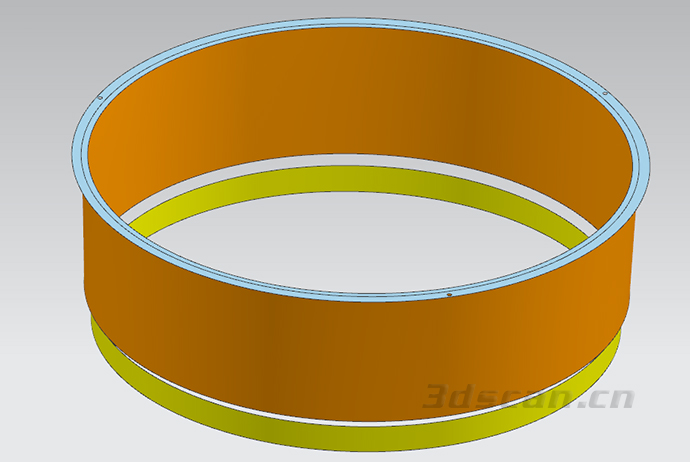
3D data diagram of aircraft engine soundproof cabin
Related Products
Thorscan R
Thorscan R
2024-02-26
The automated 3D online inspection system acquires product contour data through optical non-contact scanning using laser sensors, and transmits real-time data to the processing unit. Through the processing unit's decision-making, it adjusts the control unit to achieve online adjustments and optimize results. Consequently, 3D online inspection can effortlessly facilitate the screening of defective products and sorting of product types, akin to equipping the production line and robotic arms with a pair of eyes, thereby enhancing production efficiency and yield rates.
HL-3DP
HL-3DP
2024-02-26
The 3D photogrammetry system (HL-3DP) uses a handheld high-resolution (6000×4000) digital camera to take digital photos of the measured object. The 2D digital photo images are superimposed to obtain the measured object's 3D coordinates. This mobile technology can effectively save measurement time in capturing the 3D coordinates of the measured object, quality control (Inspection) and deformation analysis (Deformation).
HL-3DS+
HL-3DS+
2024-02-26
The photographic 3D scanner (HL 3DS+) adopts new coding calibration technology, which is the core mastery and application of 3D photogrammetry technology. It reduces physical distortion and improves the scanning accuracy of original 3D data. Heterodyne multi-frequency phase-shifting grating technology is used to improve the quality of scanning point clouds. It truly has a blue light device scanning system, and the photo-type 3D scanner scans data point spacing up to 0.01mm, which is suitable for scanning fine workpieces. It adopts a new core design concept and applies carbon fiber materials to improve the stability of the product during operation.