Back
Case Case
Tablet PC 3D Inspection Case
Release time:2024-04-26 Views:169
  • A +
  • A
  • A -

        An electrical appliance manufacturing company hopes to obtain the three-dimensional data of the tablet computer shell through the three-dimensional scanner HL-3DM, and establish the three-dimensional data of the computer shell for modification and subsequent quality inspection and quality control.
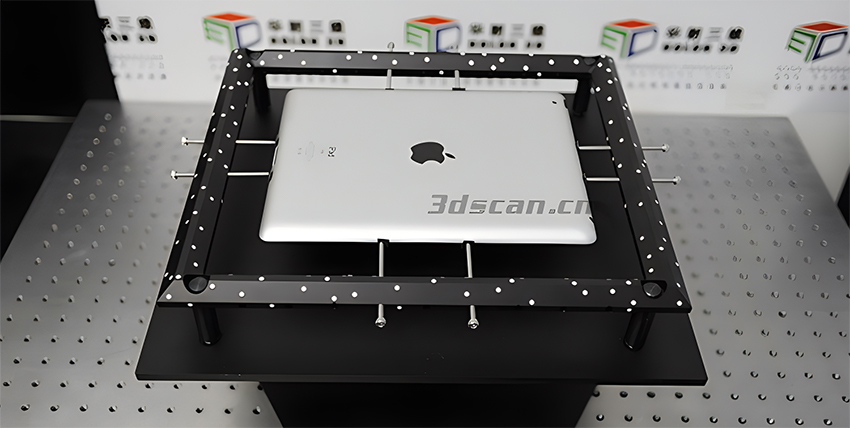
f92cc4ba0cd0742c677f119a8d8b4020_ea8d8bb5477b17e2c0ddb5cb16ae216b.jpg

Tablet PC scene picture

Facing problems

1. Customers have very high accuracy requirements for the three-dimensional data of earphone diaphragms, and the overall error needs to be controlled below 0.02mm.

2. Using traditional measurement methods, only part of the tablet casing can be measured, and the curved surface part cannot be measured, resulting in incomplete data acquisition and inability to detect the tablet casing.

Solution

1. First, Hualang 3D engineers used the 3D scanner HL-3DM to scan the actual flat panel casing to obtain high-precision point cloud data, and processed it with supporting software to obtain a 3D model in STL format.

2ed14eefb6764c9ae514f55345f2c89d_70290a8bc1530ae14b97a84e85653348.jpg

Tablet PC case STL data chart

2. Import the three-dimensional measurement data into the reverse modeling software for reverse modeling.
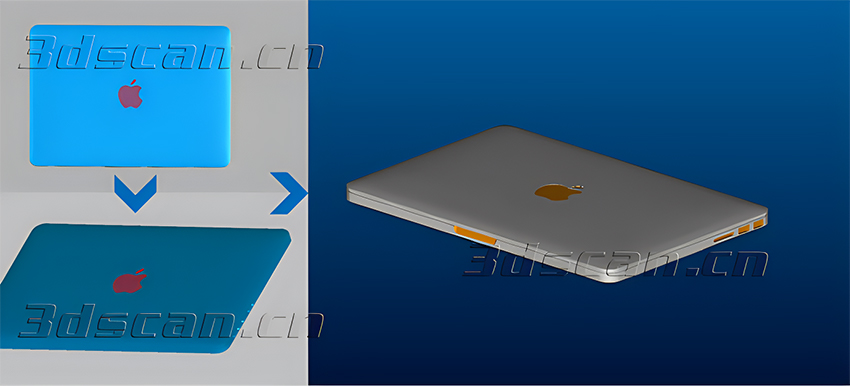
e429aa755db56fcba6016b1dea632fd0_9d959c385c490fbfcf8af5da0ec056b8.jpg

Tablet PC case 3D data chart

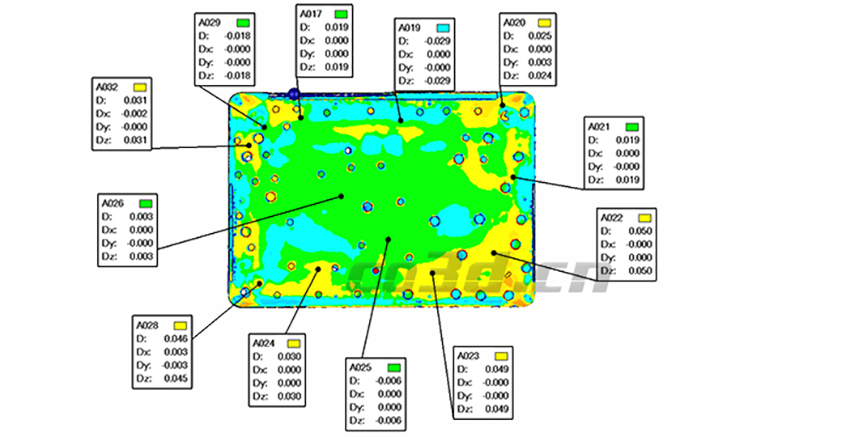
3. Import the obtained three-dimensional data of the tablet computer into the detection software to quickly detect the differences between the tablet computer (CAD) model and the manufactured parts of the product, and display the differences between the two with intuitive and easy-to-understand graphical comparison results.
a8f2a178fbc6f8663dfc521b55752699_34eb63f36fb6aa6533f02e32ba49d95c.jpg

Comparative analysis chart of tablet computer casing
Related Products
Model  93
Model 93
2024-01-24
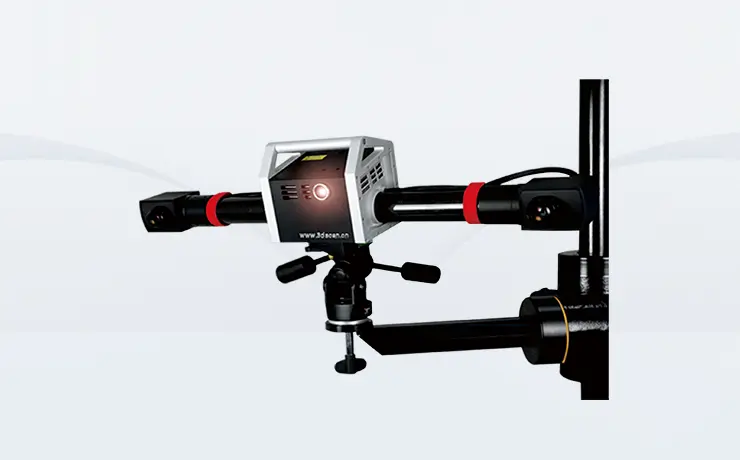
A total of 93 blue laser lines, including photogrammetry function mode, using 75 cross blue laser lines for large-range mode, standard mode + 17 parallel blue laser lines for precision mode + 1 blue laser line for deep hole scanning; faster scanning speed, higher accuracy and stronger stability; this product has been widely used in the fields of 3D detection and reverse engineering, with flexible and convenient operation process, suitable for various complex application scenarios.
Scan cobot H
Scan cobot H
2024-02-23
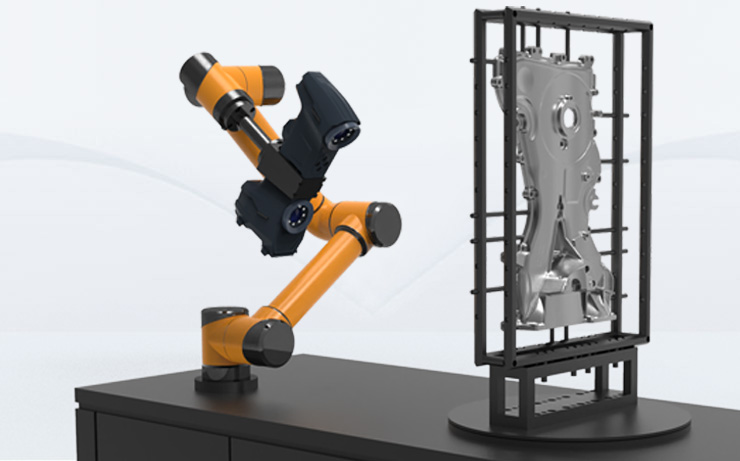
The automated three-dimensional online inspection system obtains the product's profile data through optical non-contact scanning with a laser sensor, and transmits the real-time data to the processing unit. Through the decision-making of the processing unit, the control unit is adjusted to achieve online adjustments to optimize the results. Therefore, three-dimensional online inspection can also easily realize the screening of defective products and the sorting of product types. It is like adding a pair of eyes to the production line and robotic arm, improving product production efficiency and qualification rate.
α7000
α7000
2024-04-24
The camera-type 3D scanner (α7000) adopts the world's new coding calibration technology, which is the core mastery and application of 3D photogrammetry technology. It reduces physical distortion and improves the scanning accuracy of original 3D data. Heterodyne multi-frequency phase-shifting grating technology is used to improve the quality of scanning point clouds. Synchronized with the German gom company, it truly has a blue light device scanning system, and the photo-type 3D scanner scans data point spacing up to 0.01mm, which is suitable for scanning fine workpieces; it adopts a new core design concept and applies carbon fiber materials to improve the stability of the product during operation. .