- A +
- A
- A -
Nowadays, the application of electronic products is more and more extensive. As the basic electronic components of the circuit board, the rapid development of the information electronics industry provides a good market environment for the rapid development of the circuit board industry. The continuous growth of electronic product output is fast for the circuit board industry. Growth provides strong momentum, and the market's supporting demand is growing strongly, and the industry outlook is promising. At the same time, the production capacity and technical level requirements of the circuit board products have also been improved. According to the field of application, in order to save the volume more effectively and achieve a certain precision, the products are better applied to different electronic products. Perform board inspection. The Tesla circuit board customer found Hualang 3D to scan the board for 3D scanning and obtain data to achieve a certain precision.
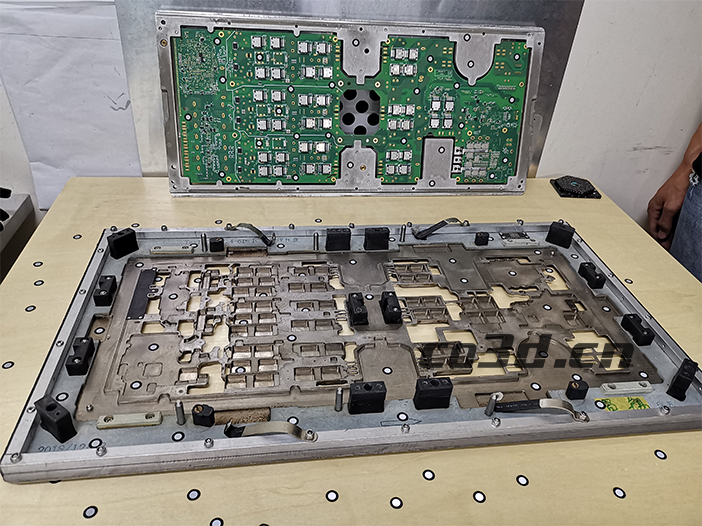
Circuit board site map
Practical problems
The circuit board is a precision type workpiece, and the external part is composed of various functional components. The design is complicated, the hole position is large and the size is different, the surface surface is small, the surface is covered with many small components, the component spacing is small, and the connection between the wires is also included. Using a common three-dimensional scanner to measure, it is impossible to capture such a small and complex surface, it is difficult to obtain high-precision data, and can not meet the measurement needs of customers.
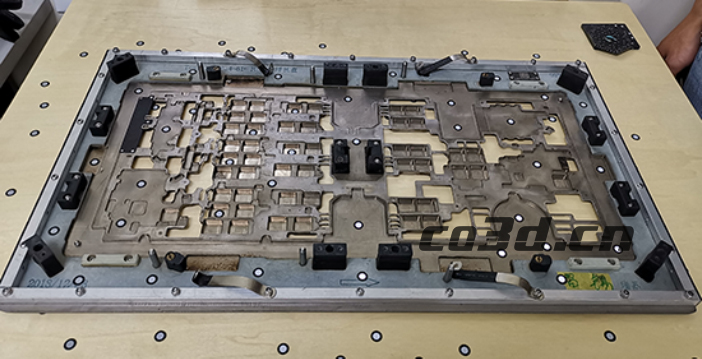
Circuit board site map
solutions
For some of the complexity issues faced by the board, Hualang 3D engineers used the handheld 3D scanner HOLON760 for inspection scans. The scanner is flexible and convenient in use, light in weight, saves time and effort, and uses 14+1 red laser lines to capture the uneven surface, scan from different angles, fast, real-time display, and import 3D inspection software for analysis. Fast aging, quick and easy acquisition of high-precision 3D data from the board, and an intuitive 3D inspection data map.
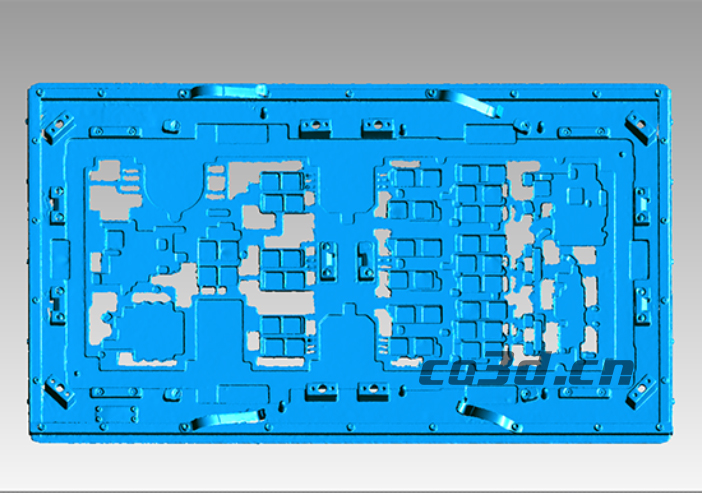
Board STL data diagram
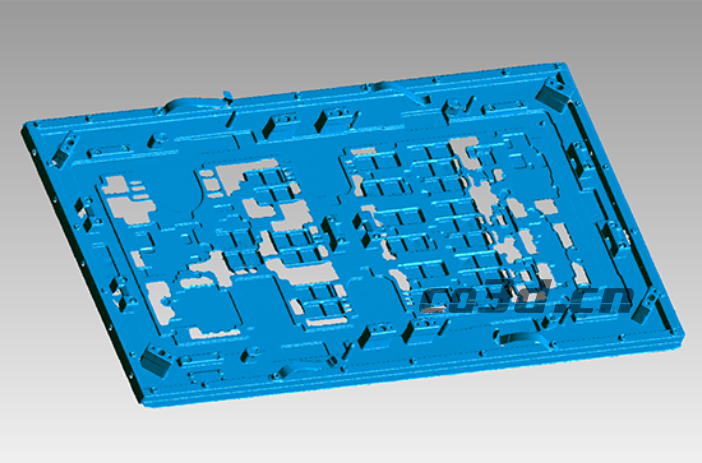
Board STL data diagram
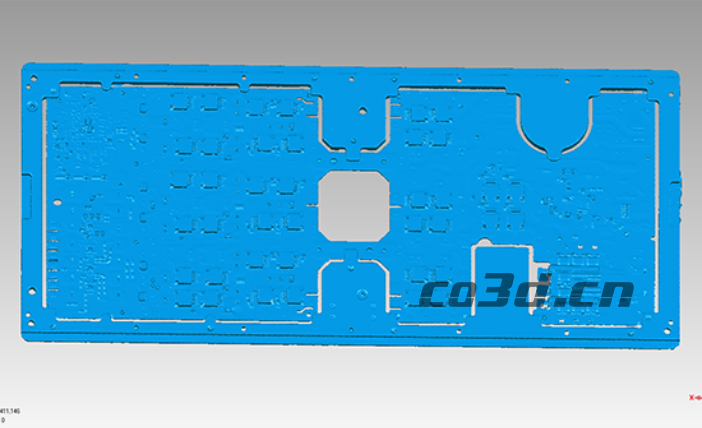
Board STL data diagram


