- A +
- A
- A -
An elevator equipment company in Shanghai commissioned HOLON to measure the elevator in 3D with a length of 18 meters and a huge size. According to the actual situation of the company, HOLON engineers used the three-dimensional photogrammetry system HL-3DP to obtain the three-dimensional data of the elevator in just one hour, with an accuracy of 0.25mm.
1. The elevator is 18 meters long, huge in size, has many curved surfaces, and has a complex structure, making it difficult to measure.
2. The traditional measurement method of this elevator company is manual measurement, which consumes too much time and labor costs and has huge accuracy errors.
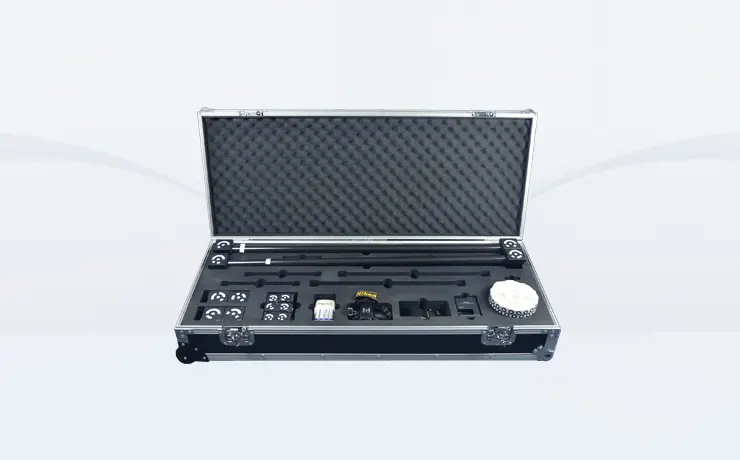
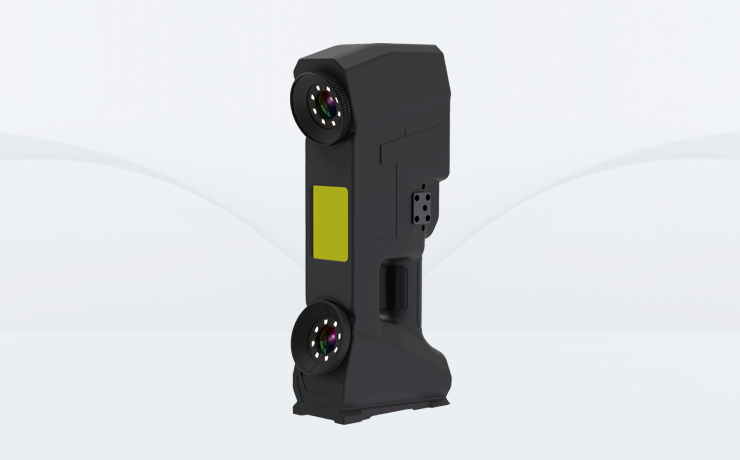
Based on the actual situation of the company, HOLON3D engineers decided to use the 3D photogrammetry system HL-3DP to obtain the 3D data of the elevator. The three-dimensional photogrammetry system HL-3DP uses a handheld high-resolution (4288×2848) digital camera to take digital photos of the measured object. The 3D coordinates of the measured object are obtained by superimposing the 2D digital photo images. , and this mobile technology can effectively save measurement time in capturing the 3D coordinates of the measured object, quality control (Inspection) and deformation analysis (Deformation).
1. Preparatory work
Paste coding points: enable the 3D photogrammetry system to obtain the 3D coordinate values of the object surface.

Paste code point
2. Three-dimensional photogrammetry
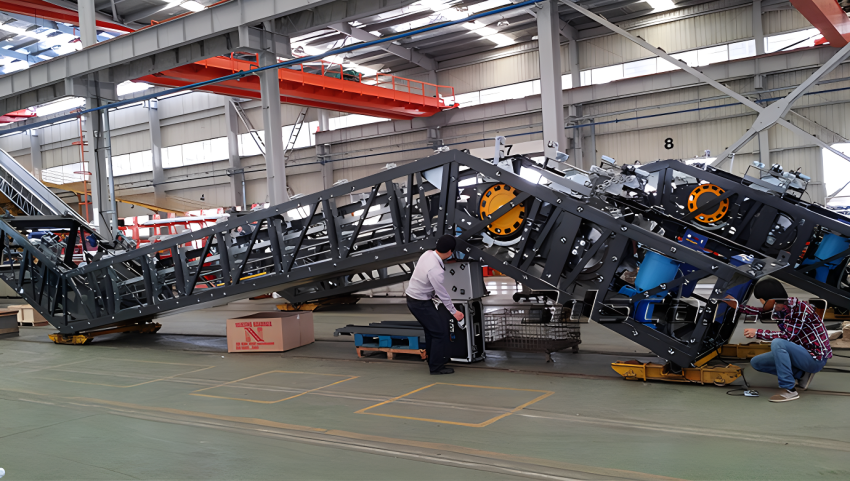
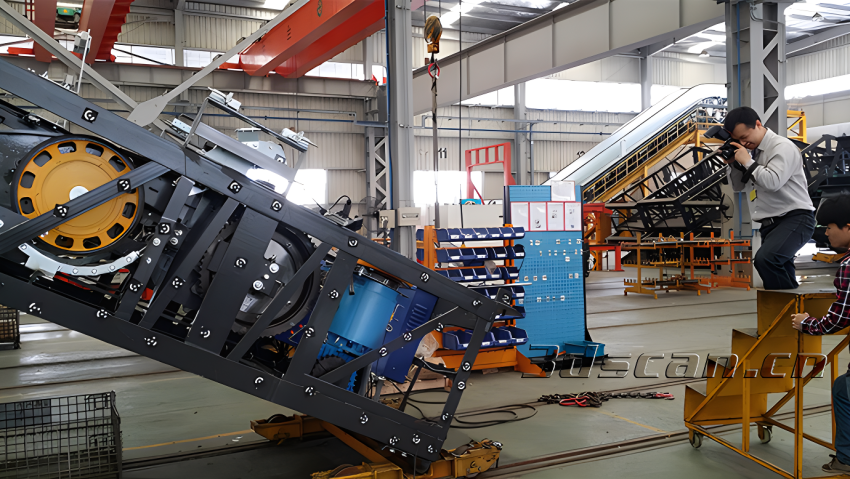
The elevator photographed is 18 meters long and huge. The elevator has many curved surfaces and a complex structure, making it difficult to measure. HOLON engineers use a three-dimensional photogrammetry system (HL-3DP) to take multiple images of the elevator. Through the three-dimensional distance measurement method, the HOLON3DP software automatically combines these images and performs calculations to obtain the 3D coordinates of the center of each coding point. , calculate the 3D coordinate values of key information points on the object surface. Using the obtained three-dimensional data, we can quickly detect the differences between the elevator (CAD) model and the product, and clearly understand the quality of the elevator, so that the company can improve the product in a timely manner.

3D photogrammetry site

3D photogrammetry site

3D photogrammetry data


