- A +
- A
- A -
A well-known company in Sichuan needs to conduct three-dimensional inspection of the robot arm base, obtain high-precision three-dimensional data, and analyze whether the production of the robot arm base is qualified, so as to solve the problem of the robot arm base being unable to be properly installed and matched. HOLON3D provides the company with a solution plan.
1. The robot arm base is large and bulky, and the base has many irregular shapes and is difficult to detect. It is necessary to measure whether the robot arm base and the robot arm mounting holes match.
2. The light at the scene is bright, and the interference during scanning is relatively large. The customer needs to quickly scan the robot arm base, and the scan data requires high accuracy, which is used for three-dimensional inspection of the robot arm base and the original digital model.
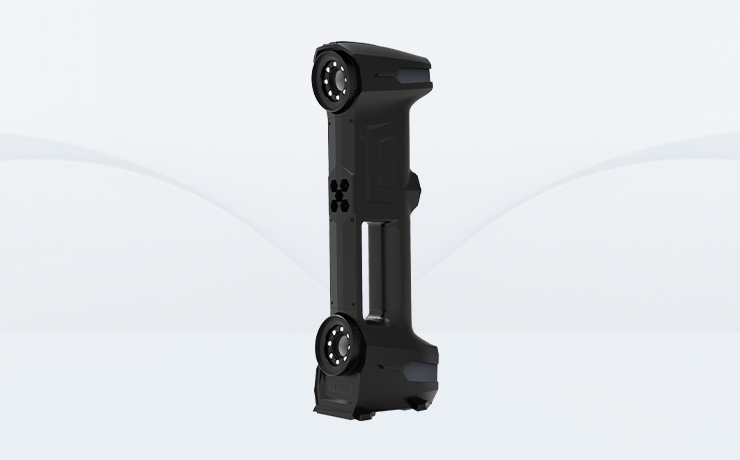
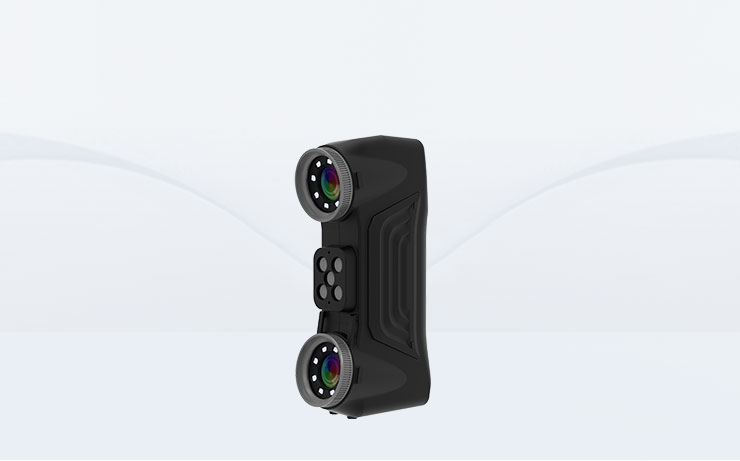
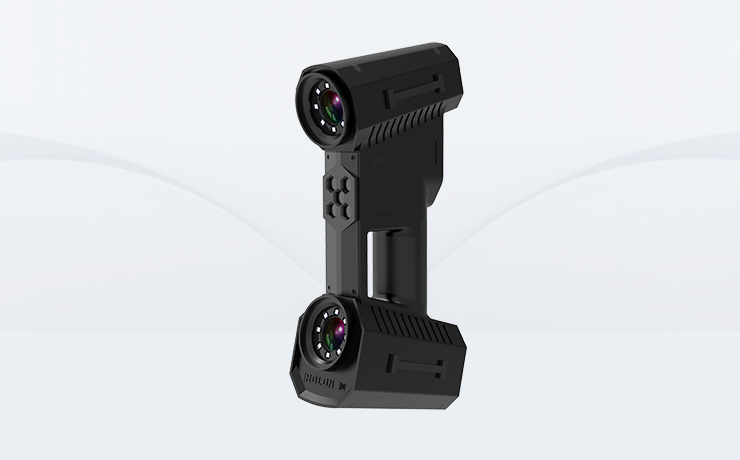
During the inspection of the robot arm base, due to its large size and bulkiness, the local contour installation hole position requires very high accuracy. Traditional inspection methods are used for measurement. Many dimensions and shape features cannot be measured effectively, and secondary errors are easily produced, which affects The product is installed efficiently. In order to abandon traditional inspection methods, the company used a handheld three-dimensional scanner to conduct product quality inspection on the robotic arm base and formulated a reasonable design plan. HOLON technical engineers proposed a solution: use HOLON's newly developed 3D scanner W3000 to collect 3D data on the robotic arm base, and obtain a 3D inspection and analysis report to provide an effective installation solution for the company's production of forging CNC hammers.
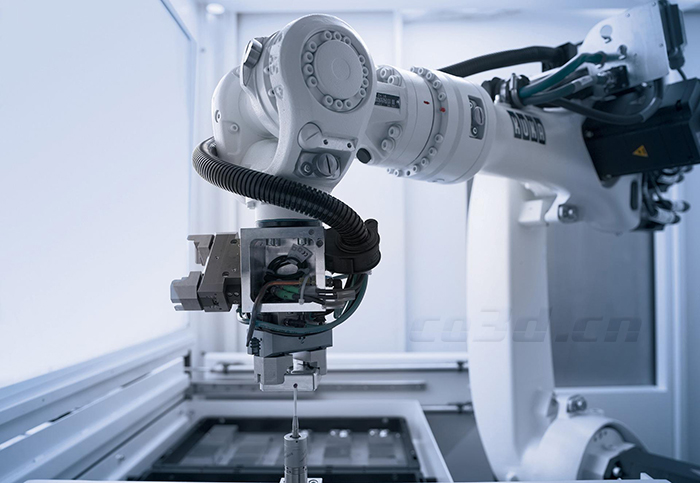
Robot manipulator base renderings
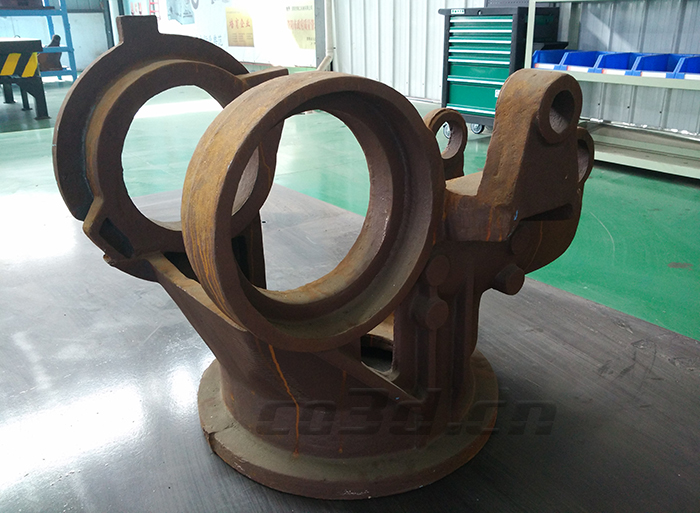
Physical picture of robot manipulator base
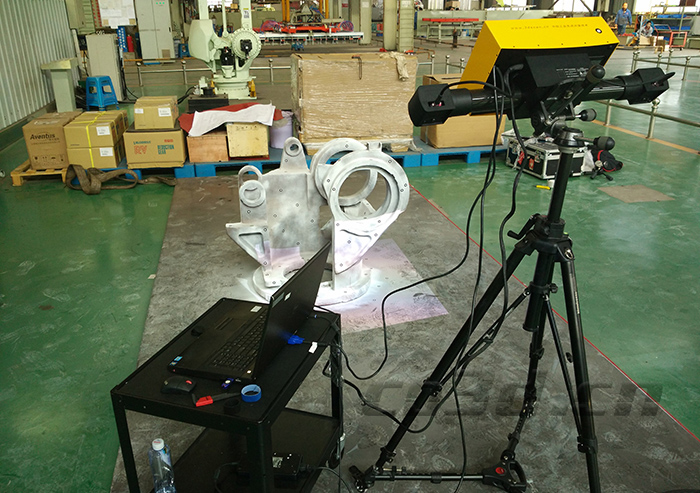
Site view of robot arm base
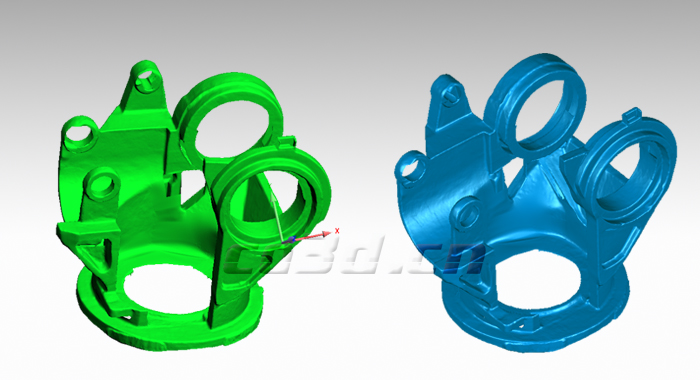
3D data diagram of robot manipulator base
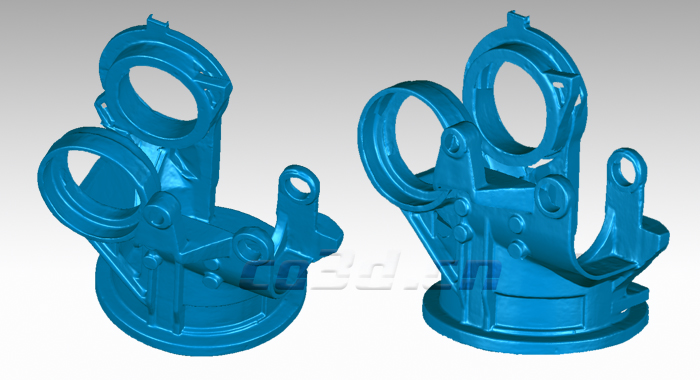
Robot manipulator base STL data diagram
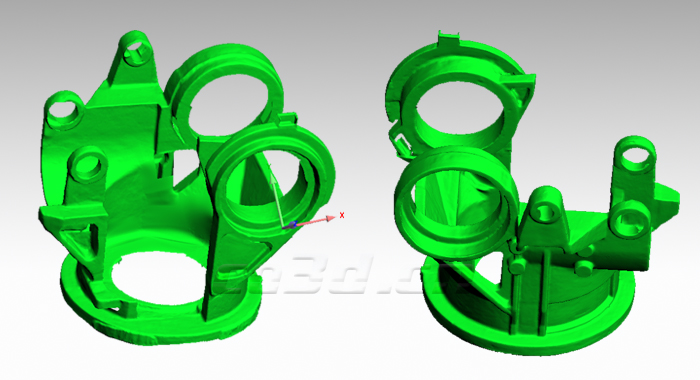
Robot manipulator base STL data diagram
