- A +
- A
- A -
The vibrating screen equipment works by utilizing the reciprocating rotational vibration generated by the vibrator excitation, causing the screen surface to produce complex rotational vibration. The work is complex and demanding and easy to wear. Daily maintenance and regular maintenance and repair are required to ensure production. of normal operation. A domestic customer needs to conduct three-dimensional inspection of vibrating screen equipment. As the second largest casting in the world, the vibrating screen is large and tall. Scanning is a big project. After understanding the data scanned by HOLON 3D scanner, the customer , felt very satisfied and purchased the equipment.
Since the vibrating screen equipment is a large workpiece, it is large and tall and difficult to move. The surface is uneven and covered with many small screw-like bumps and a few holes. The screen surface is tilted and curved, and other components are connected with bolts to form some included angles. Ordinary 3D scanners are inconvenient to measure, slow and time-consuming, and the data obtained are inaccurate, and cannot meet current needs.
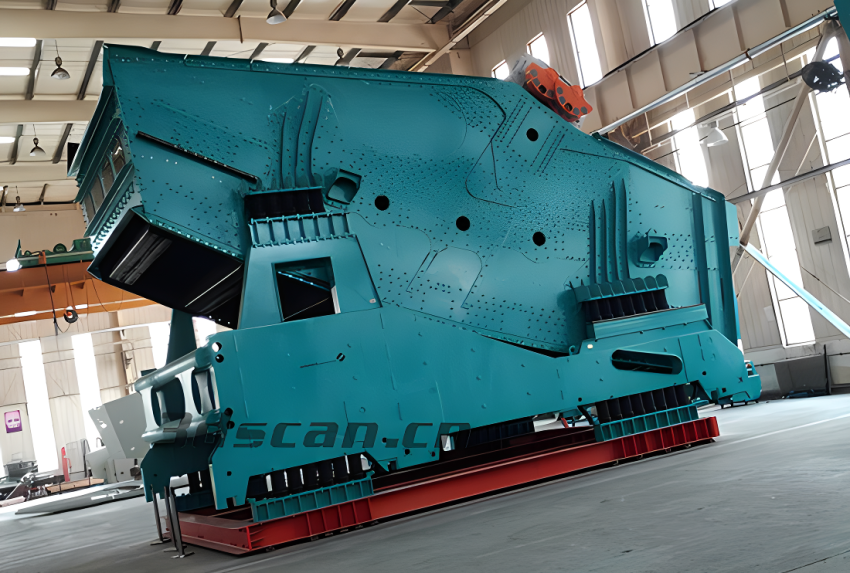
Real photos of super large castings on site
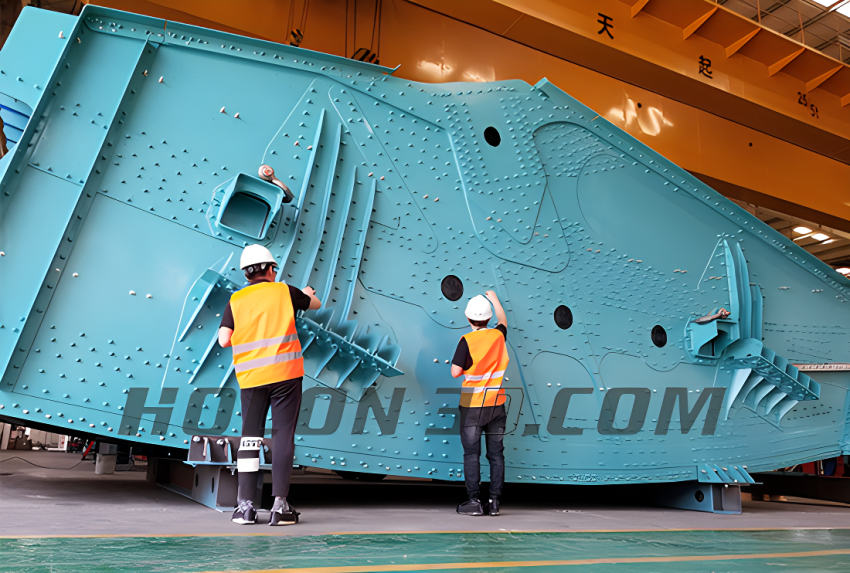
Picture of HOLON 3D staff putting up signs
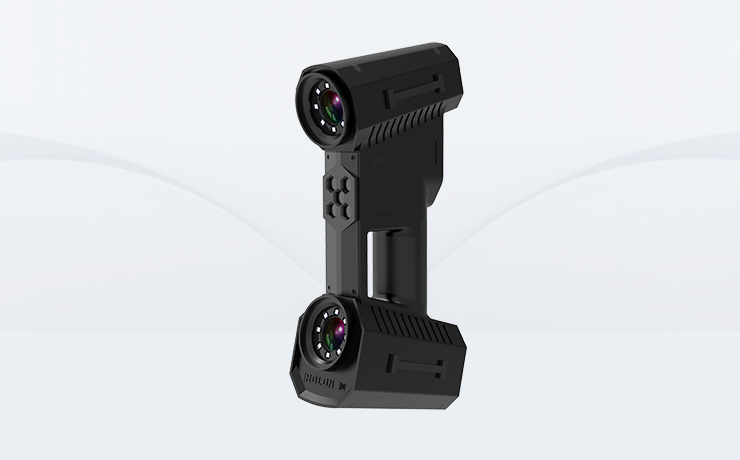
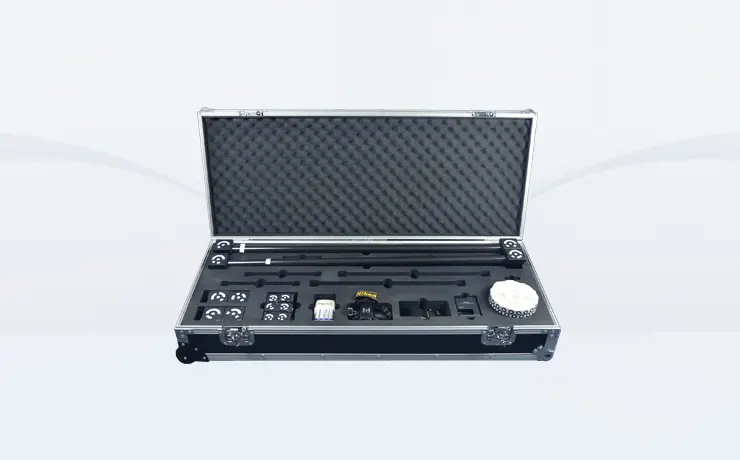
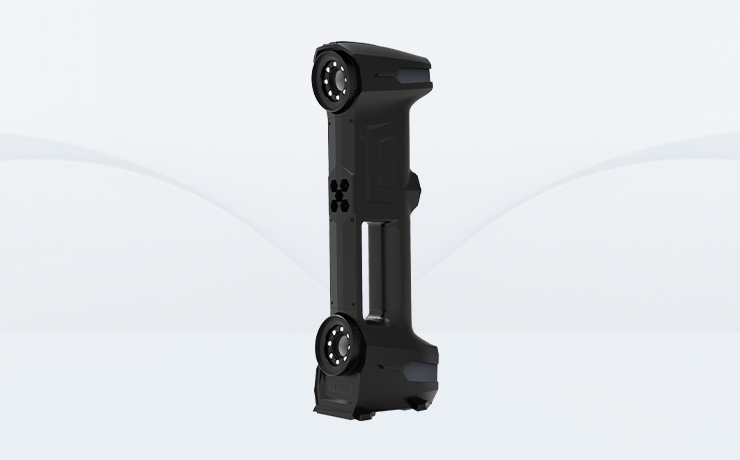
HOLON 3D's handheld 3D scanner Model 49 and 3D photogrammetry HL-3DP were used. Model 49 has fast scanning speed and high precision. It can be switched to single laser scanning mode, which is suitable for scanning deep holes and dead corners. It is easy to operate, unrestricted, and has a wide scanning range. In addition, when using 3DP to scan large workpieces for measurement, it can reduce the cumulative error of three-dimensional scanning data splicing, achieve rapid scanning of large workpieces, and fast data processing with reduced errors. Able to effectively solve problems.
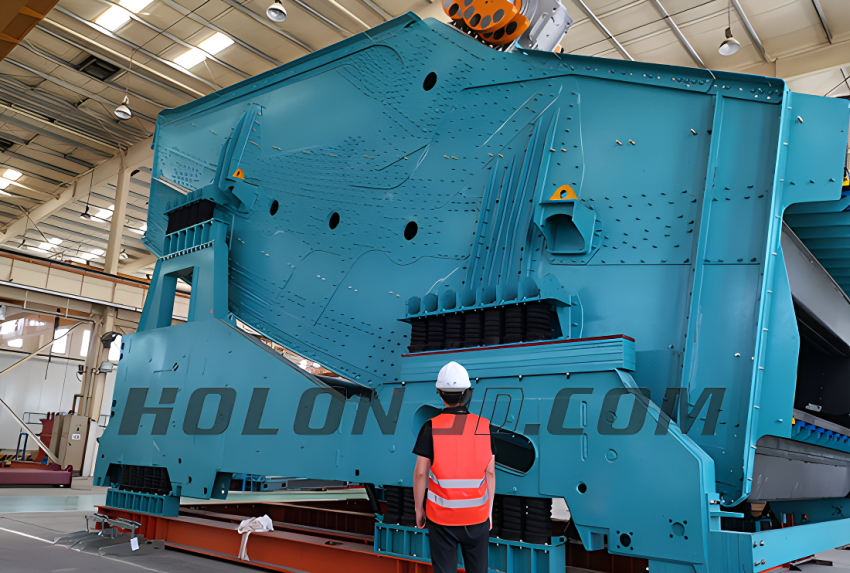
On-site scan of oversized castings
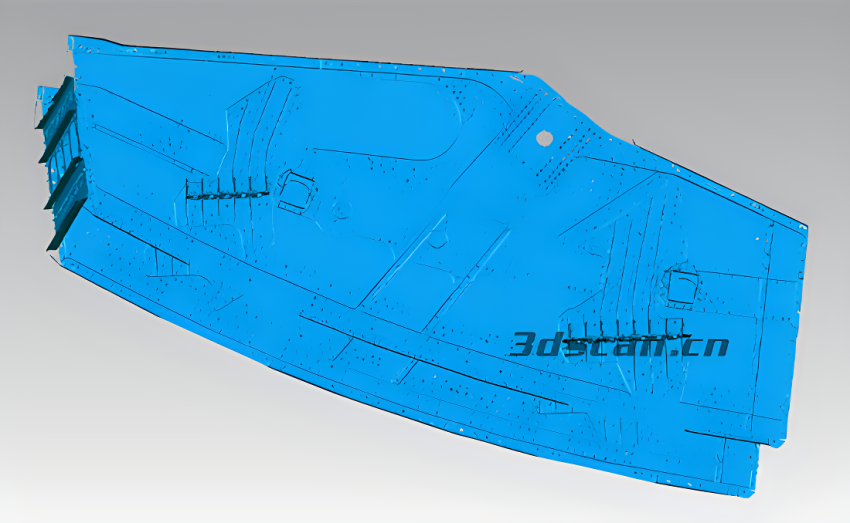
Super Large Casting STL Data Chart
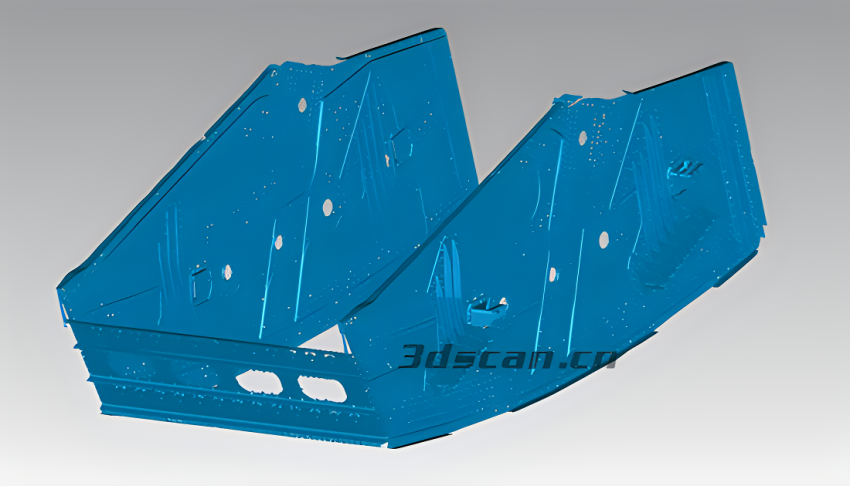
Super Large Casting STL Data Chart

Super Large Casting STL Data Chart
