- A +
- A
- A -
The turbine volute is one of the commonly used equipment in hydropower plants. The huge energy generated by the high water level requires the volute to be inspected and maintained regularly. There were many disadvantages in the previous inspections. In order to further save inspection time and cost, the manufacturer decided Use the HOLON3D handheld 3D scanner for inspection: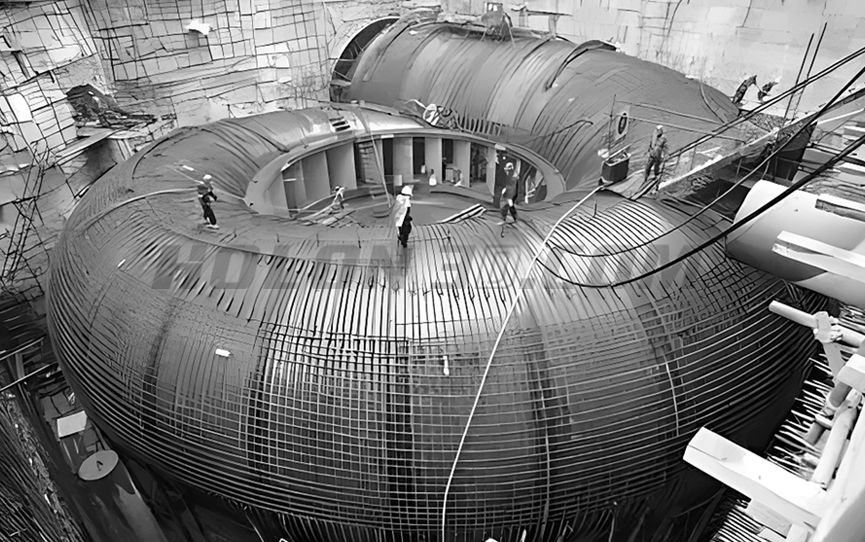
Actual picture of turbine volute
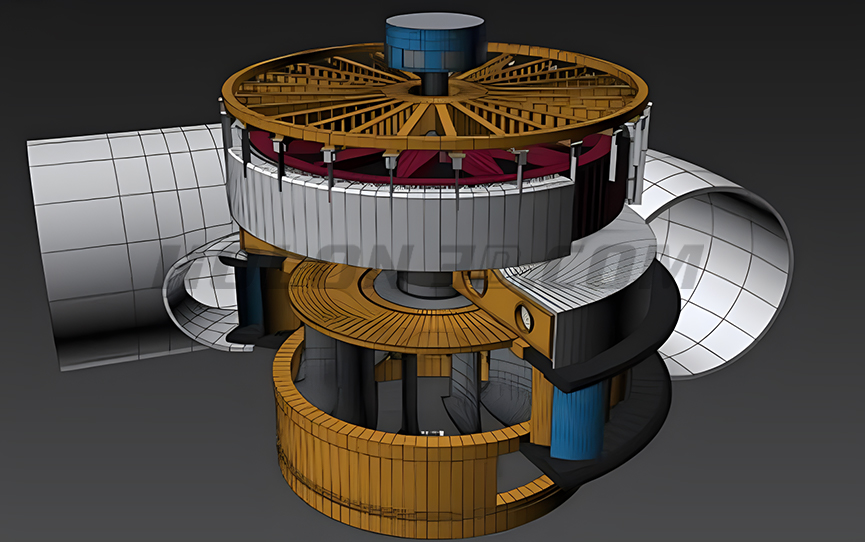
Turbine volute structure diagram
The internal space of the volute is narrow, which limits the space for detection.
The maintenance area is large and all scanning work needs to be completed within the manufacturer's limited time.
The surface of the volute is rusty and has a lot of silt, which requires higher data accuracy during scanning.
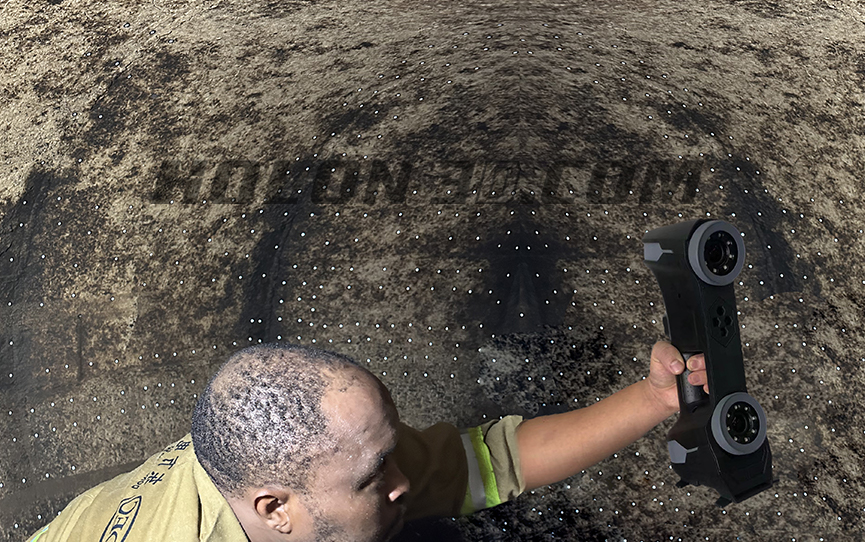
Internal sticker diagram of turbine volute
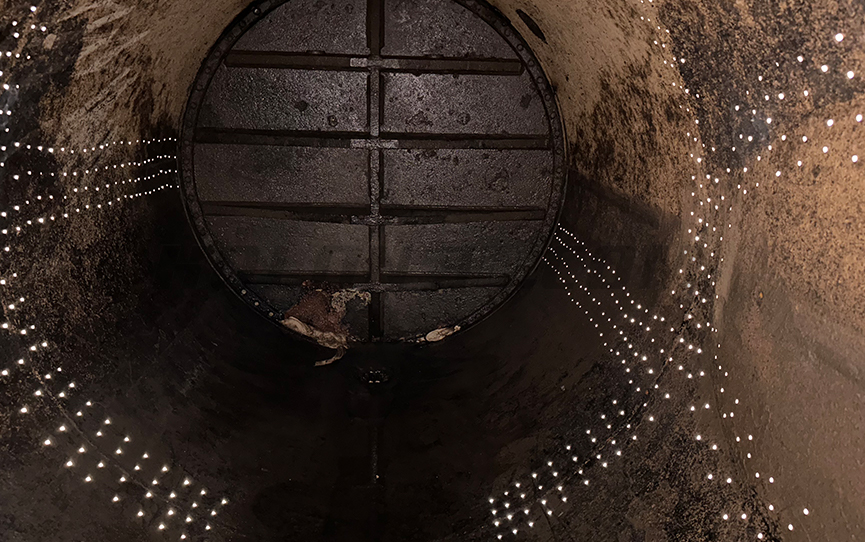
Turbine volute scanning site picture
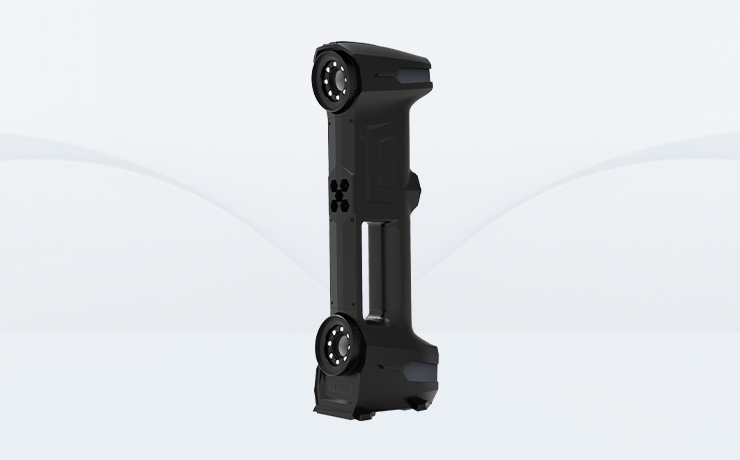
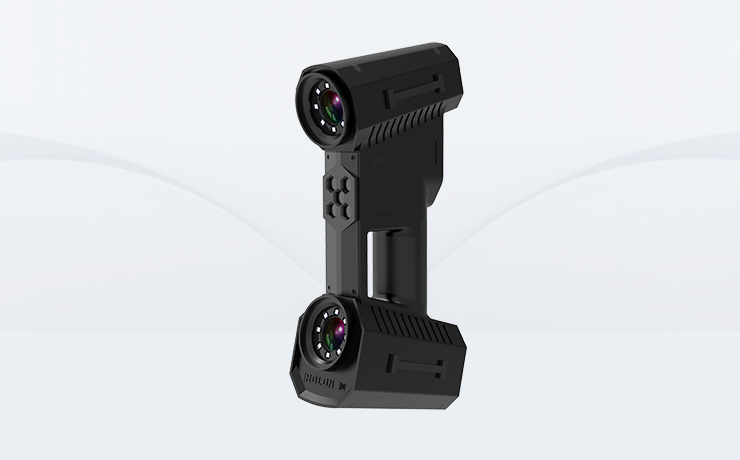
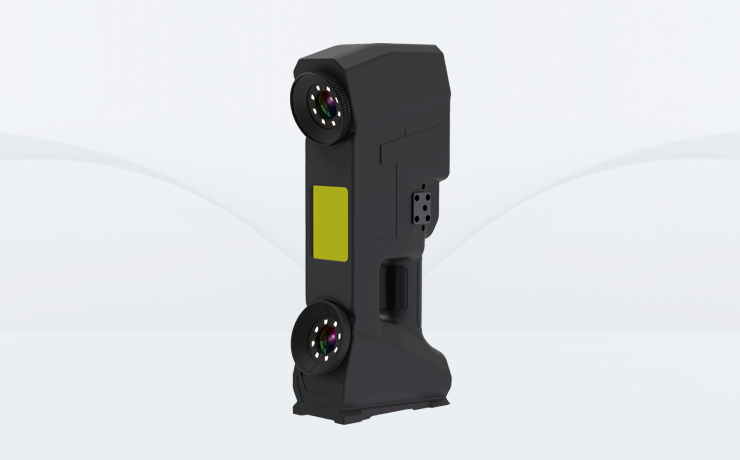
Using handheld high-precision 3D scanner Thor I
High-precision scanning: Excellent data splicing ability, single data can reach up to 0.01mm, minimizing the cumulative error of data splicing on the surface of the volute
Convenient scanning: The staff travels lightly. After pasting the marking points on the scanned surface, hand-held non-contact scanning can easily solve the maintenance problem of narrow volute space.
Large-area scanning: Built-in large-area scanning mode, maximizing the number of scanning laser lines, powerful single-frame data capture capability, and excellent performance when scanning large-scale volute surfaces (scanning range: 1400×1100mm)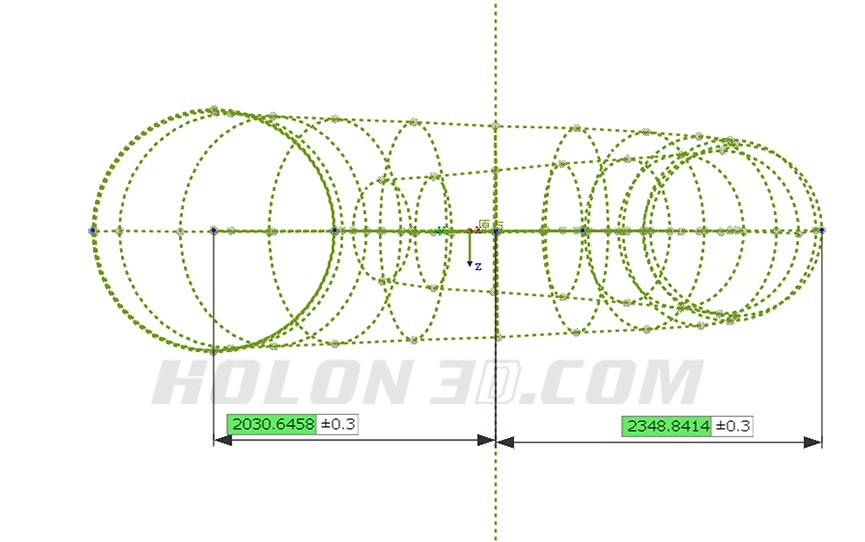
Turbine volute measurement data chart
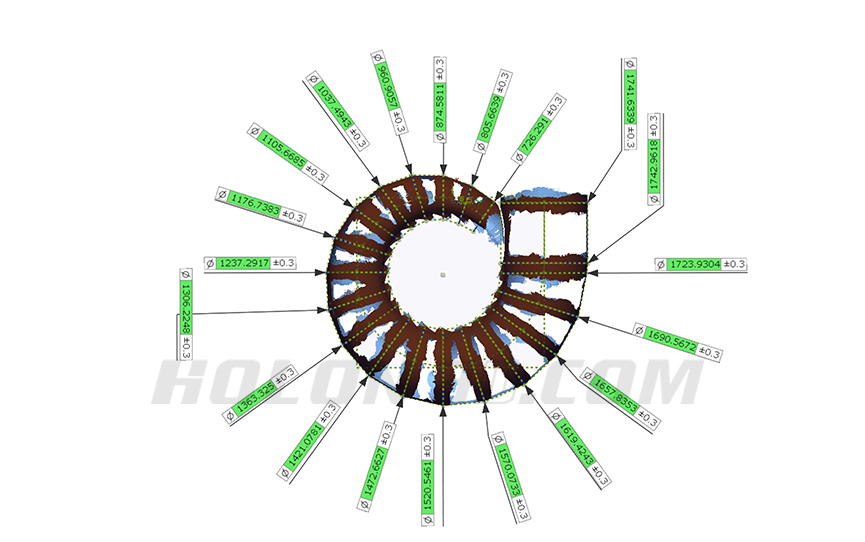
Turbine volute measurement data chart
Through the efficient and convenient measurement method of the handheld 3D scanner, the time and cost of repairing the volute are greatly reduced, providing a solid backing for the long-term development of water conservancy projects.
