- A +
- A
- A -
An internationally renowned research institute needs to conduct comprehensive testing on the processed nuclear devices and compare the digital and analog diagrams of the products. In order to improve the nuclear device processing technology and improve quality.
1. Nuclear device accessories are large in appearance, complex in shape, and have many holes, which require high accuracy of the three-dimensional data obtained.
2. The traditional measurement method does not have enough data collection density (insufficient data volume) and cannot measure the curved surface and radian of the nuclear device, nor can it be detected normally, nor can it be reverse-drawn later. The workload is large, the efficiency is low and the accuracy is not high, which cannot meet customer requirements.
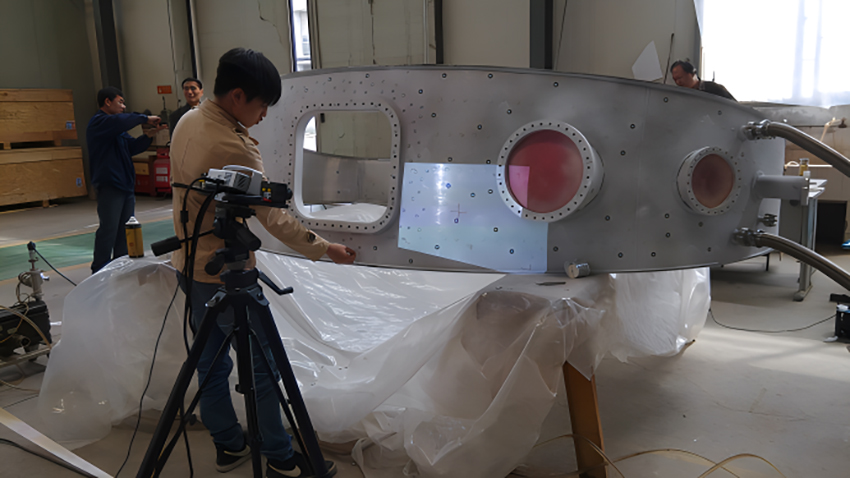
Nuclear installation artifacts
The 3D scanner performs a three-dimensional scan of the nuclear device, obtains high-precision three-dimensional data, and finally generates a detailed inspection report. The deviation status of any position can also be displayed numerically, which can completely replace traditional inspection methods.
1. Preparatory work
Spray developer: Improve the contrast of the background color on the surface of the sample to obtain better scanning data.
Attach landmark points: The acquired data can be positioned and spliced in the scanning software.
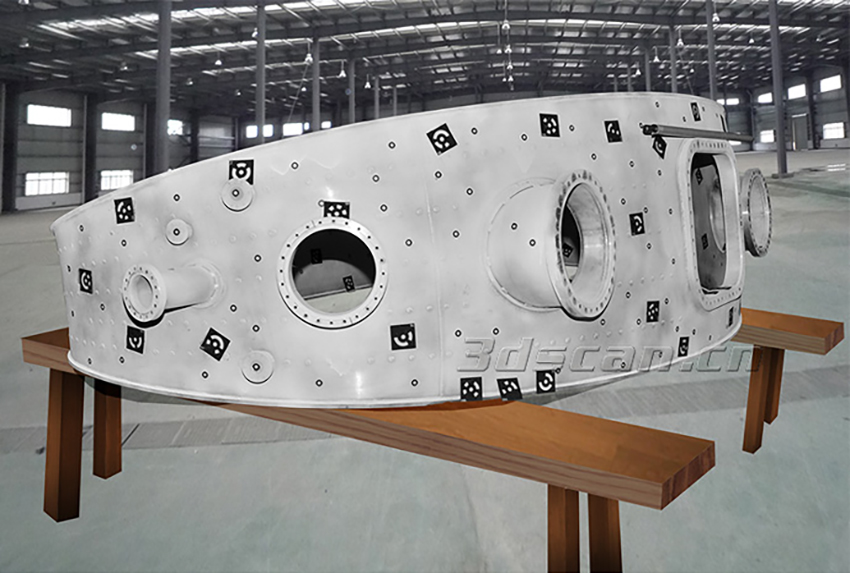
Pre-scan of nuclear device workpiece
2. 3D scanning
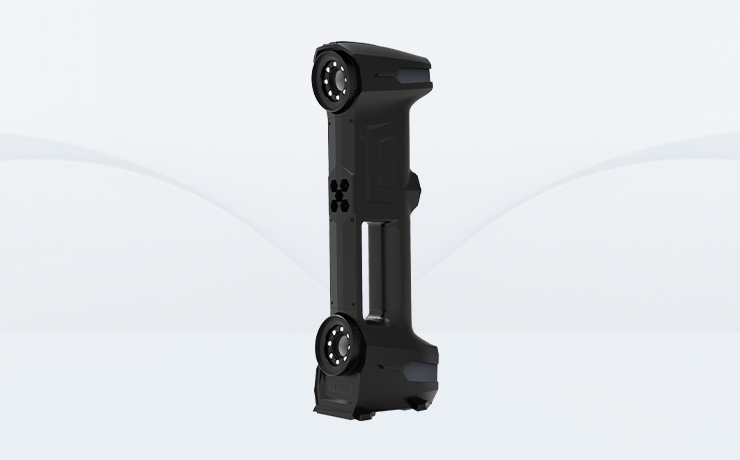
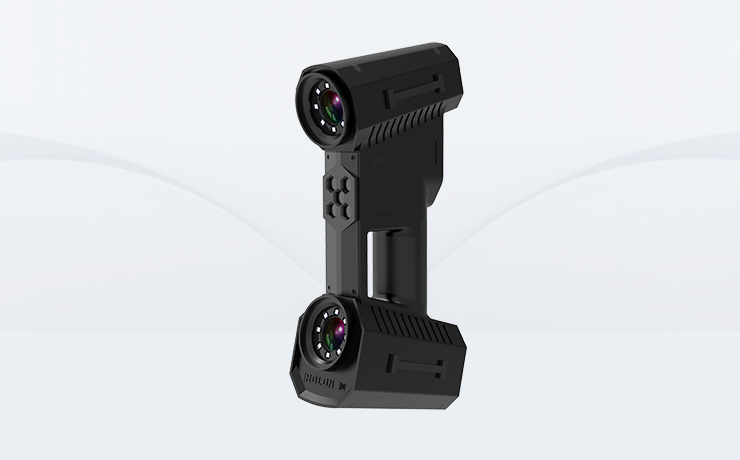
After learning about the company's specific situation, Hualang 3D engineers used a combination of Hualang 3D scanner HL-3DW and 3D scanner HL-3DX to scan it. HL-3DW has an ultra-large format scanning function and is very suitable for scanning large objects. , the machine is very stable, the whole scanning process only takes one hour, and the accuracy reaches 0.05mm, and 3DX can accurately scan those holes and improve the nuclear device detection data.
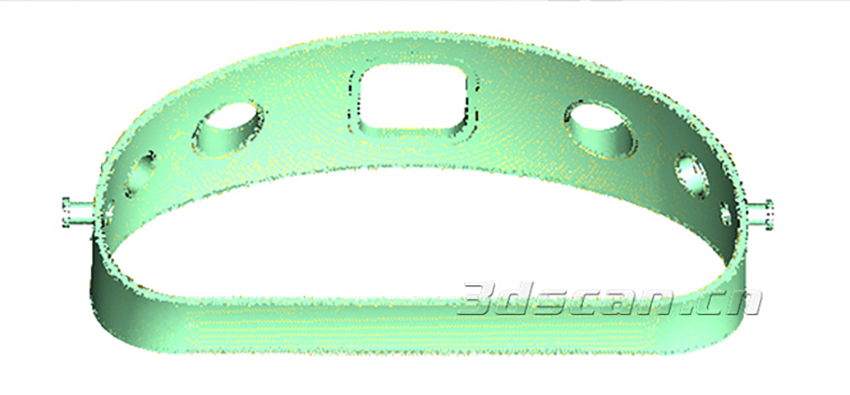
Nuclear device point cloud data
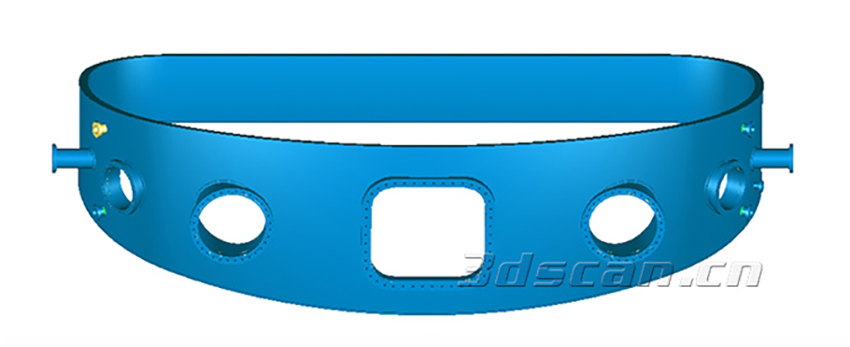
Nuclear device STL data
3. Three-dimensional detection:
By importing the obtained three-dimensional data of the nuclear device into the inspection software, the differences between the nuclear device (CAD) model and the manufactured parts of the product can be quickly detected, and the differences between the two can be displayed with intuitive and easy-to-understand graphical comparison results.
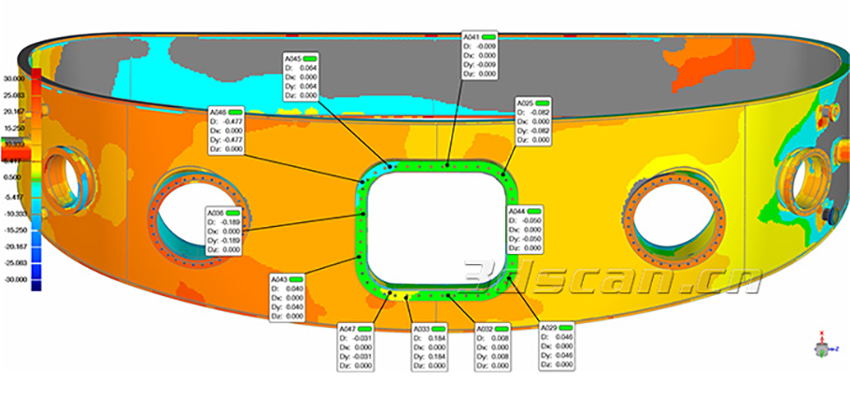
Nuclear device comparison inspection chart
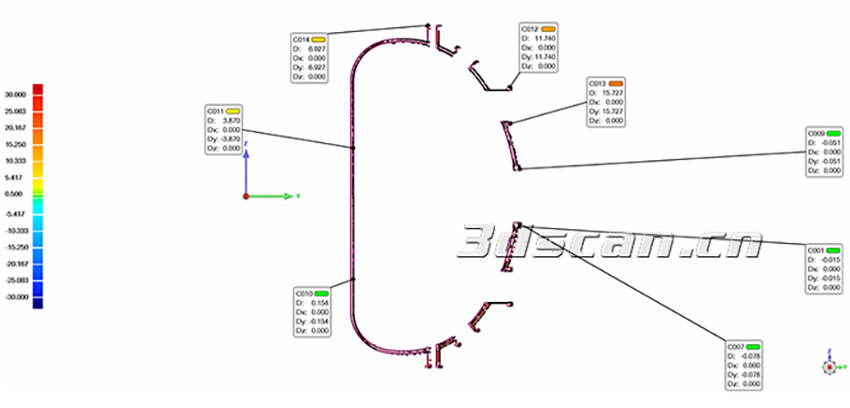
Nuclear device comparison inspection chart
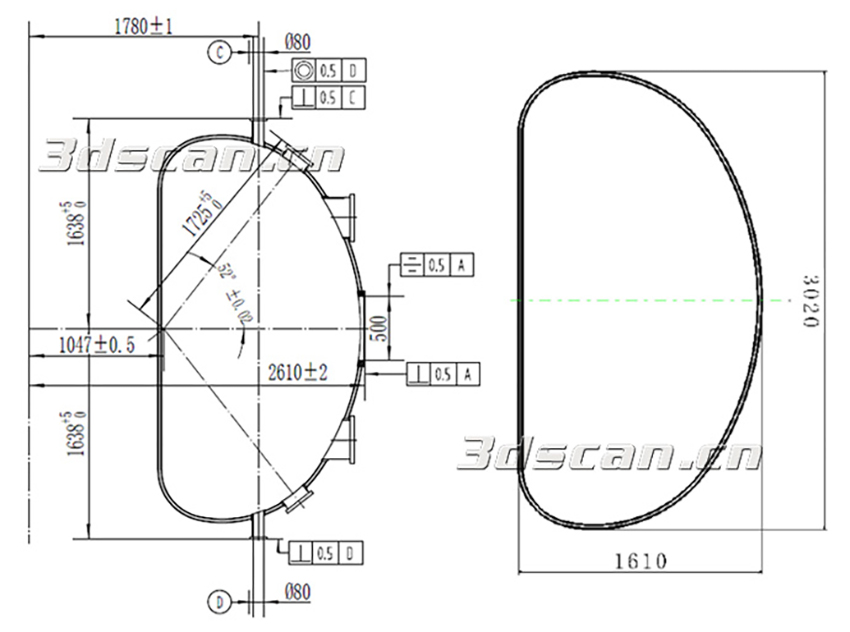
Nuclear device CAD drawing
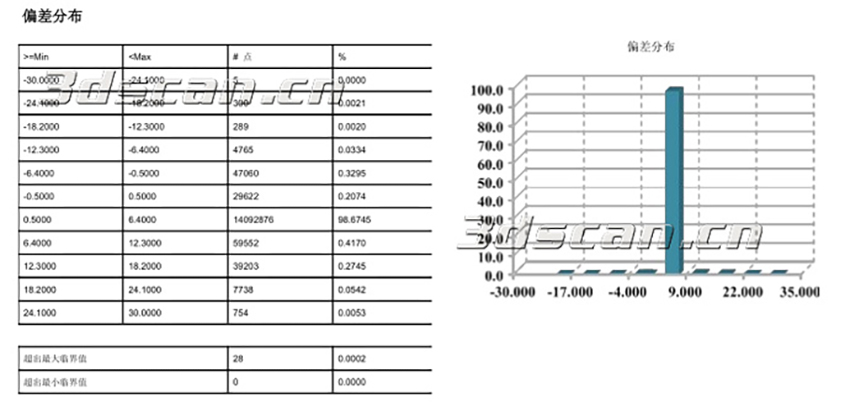
Nuclear device column analysis diagram
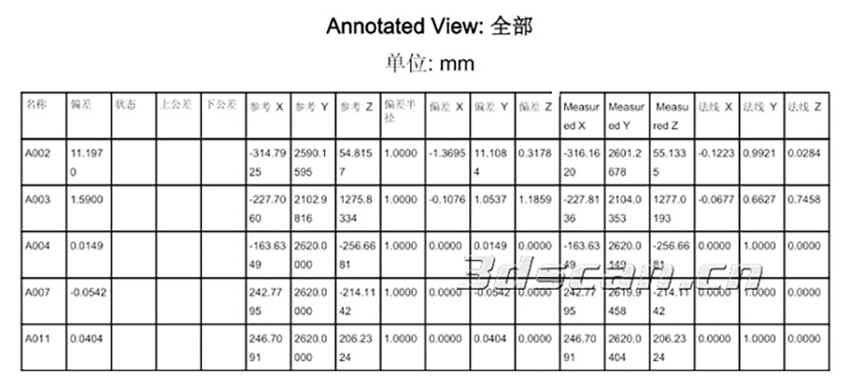
Nuclear device error analysis table

