- A +
- A
- A -
The design of the blades in the wind turbine can directly affect the wind energy conversion efficiency. Good design, reliable quality and superior performance are the decisive factors to ensure the normal and stable operation of the unit, which directly affects its annual power generation and is an important aspect of wind energy utilization. ring. Three-dimensional scanning technology is used to quickly obtain three-dimensional data of the blade detection parts. Through data analysis and comparison, we can understand the existence of problems and make timely maintenance to ensure the operation of the work.
The customer needs to check the size of the outer ring at the root of the blade and check the amount of deformation. It also has high requirements for accuracy, fast scanning speed, and can complete the work efficiently.
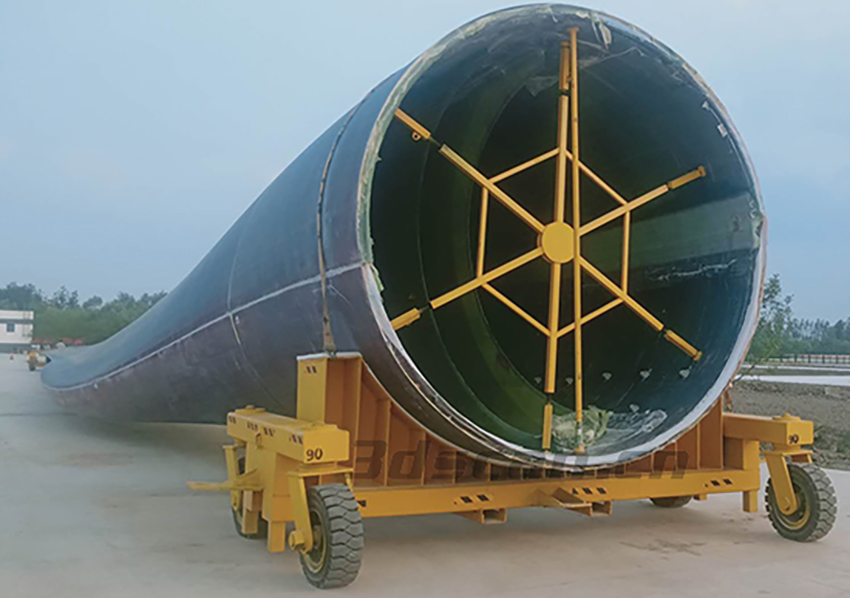
On-site scans
Due to the large size of the blade (about 80 meters long and about 3 meters in diameter), it is difficult to move. Relying on manual traditional measurement methods is inefficient, the accuracy does not meet the requirements, and accurate detection cannot be achieved. Therefore, three-dimensional scanning detection is used.
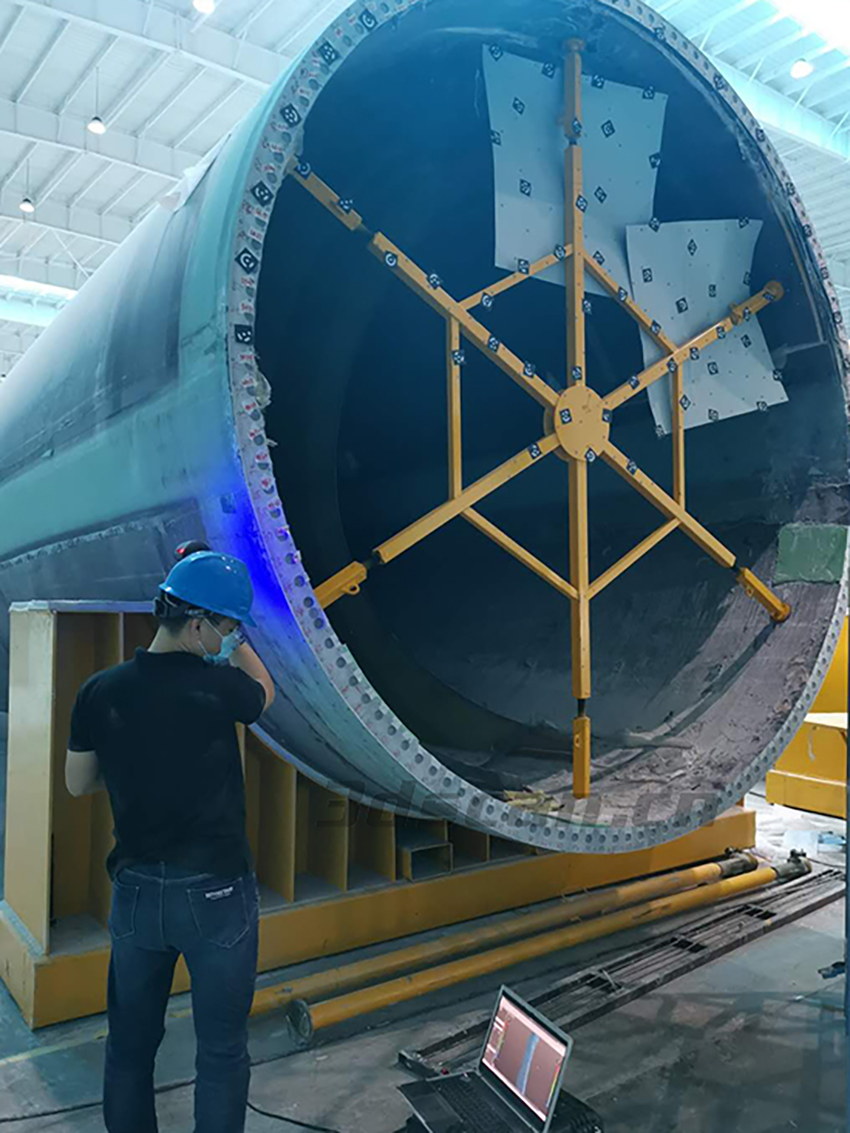 On-site scans
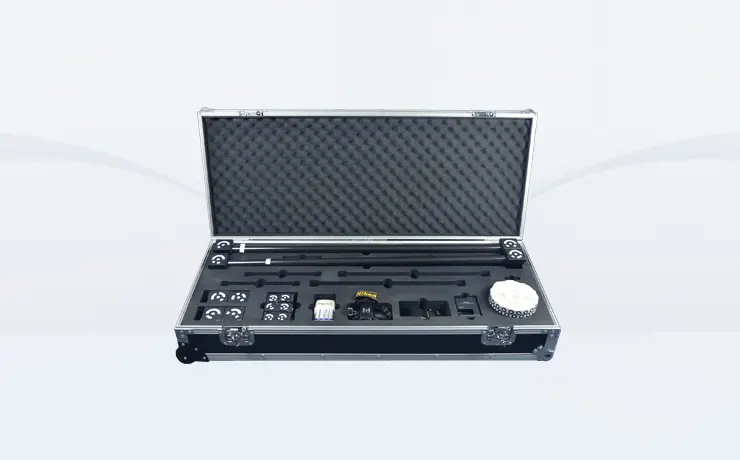
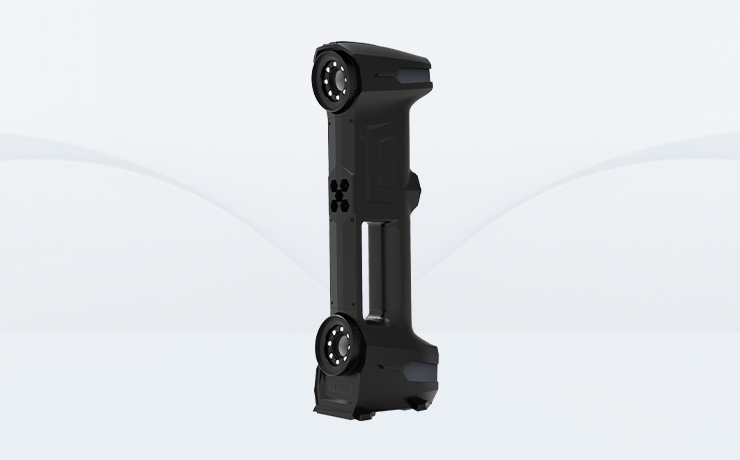
According to customer needs and workpiece conditions, HOLON3D 3D technical engineers use 3D photogrammetry HL-3DP and handheld 3D scanner Model 49 to scan and obtain data, which can reduce the cumulative error of 3D scan data splicing.
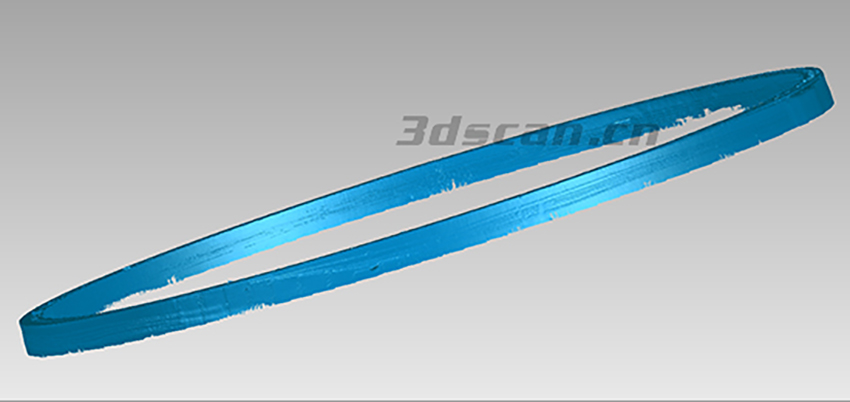
Scan STL data graph
First, 3D photogrammetry 3DP is used to obtain the 3D coordinates of the inspection part. Then use the handheld 3D scanner Model 49 to scan to obtain high-precision data. The scanning speed is fast and the work is completed efficiently. Import the data into the 3D inspection software for comparison and analysis with the original digital model, and export the data analysis report to know the amount of deformation.
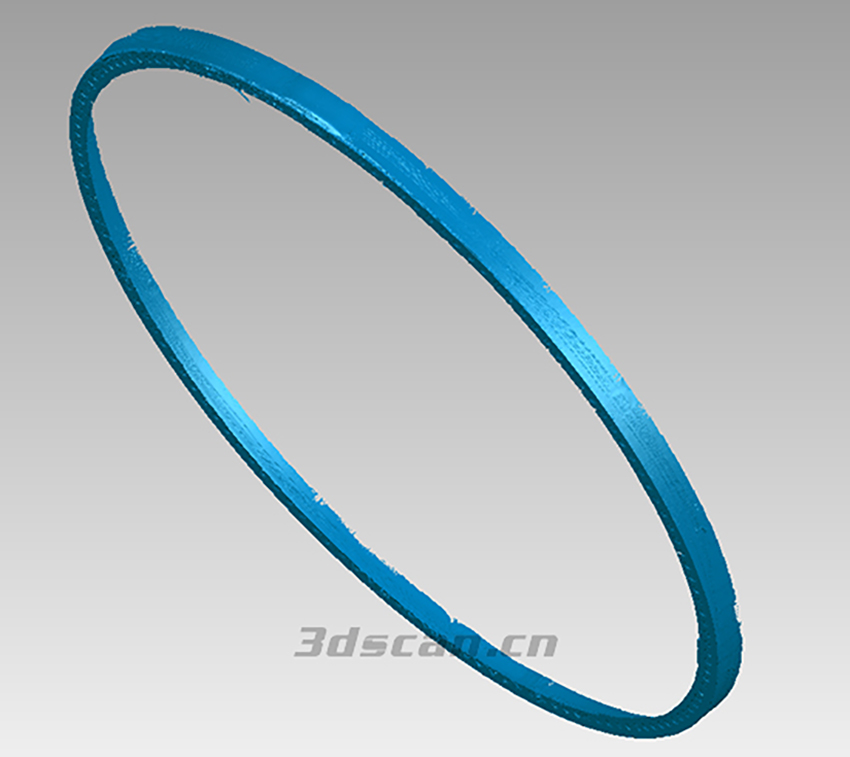
Scan STL data graph
