Back
Case Case
Reverse design of gears for large mechanical equipment
Release time:2024-04-26 Views:170
  • A +
  • A
  • A -

Large mechanical gears are widely used transmission parts in machines. It can transmit power and change the speed and direction of rotation. It is the core component of large-scale mining machinery and equipment.

Facing problems

1. The shape of large mechanical gears is complex and there are many tooth grooves on the surface, resulting in incomplete three-dimensional data acquisition, making it impossible to carry out secondary design of large mechanical gears.

2. Traditional measurement methods (such as inspection tools, two-dimensional, three-dimensional coordinates, etc.) cannot quickly measure the large mechanical gears of the pump cover.
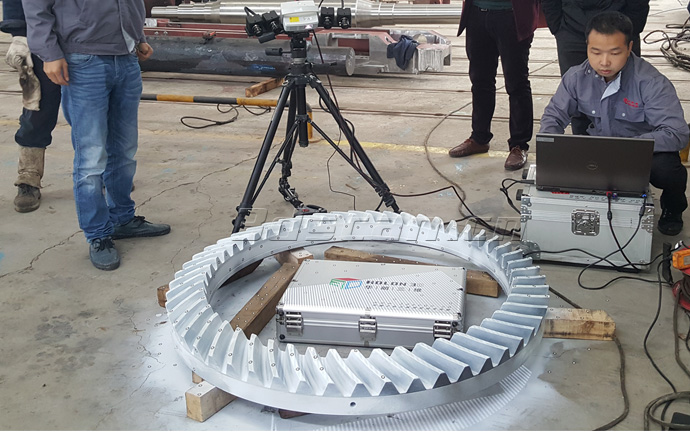
Scanning mechanical wheel site map

Solution

Scanning device:

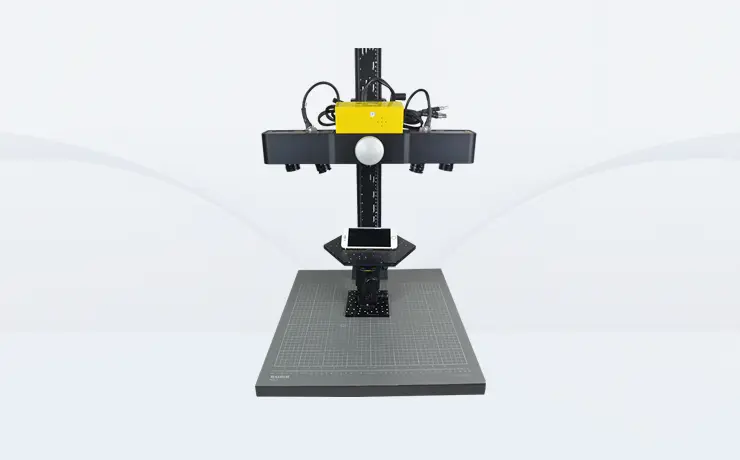
        HOLON 3D scanner HL-3DS+

Features:

        ●The scanning speed is extremely fast: millions of data points can be obtained within ≤3 seconds, which is extremely efficient (the system can also be customized according to customer needs).

        ●High accuracy: Using unique measurement technology, the single-frame scanning accuracy can reach ≤±0.005. With the three-dimensional photogrammetry system, the accuracy is even higher.
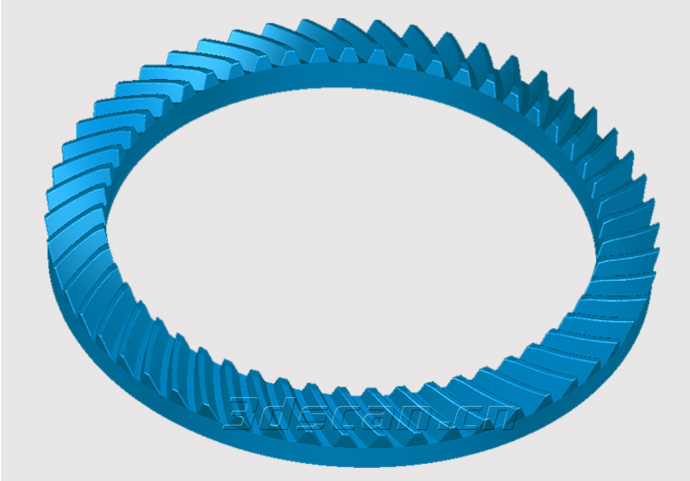

Large mechanical gear scanning STL data chart

Scan steps:

Spray developer (to improve the contrast of the background color on the surface of the workpiece and obtain more comprehensive and better scanning data)

Paste landmark points (to realize automatic splicing of scanned data)

3D scanning

(One-click shooting, simple operation, multi-angle shooting with the scanner, able to scan and capture every aspect of the object)

Point cloud data, STL data (high-precision three-dimensional data, which can be used for secondary product design)
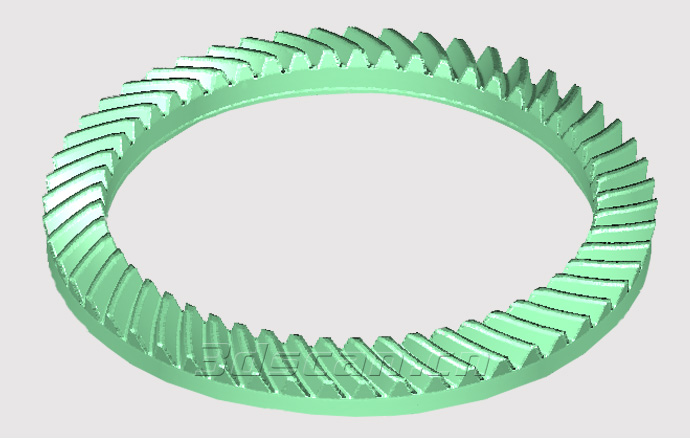
Large mechanical gear scanning STL data chart
Related Products
HL-3DS+
HL-3DS+
2024-02-26
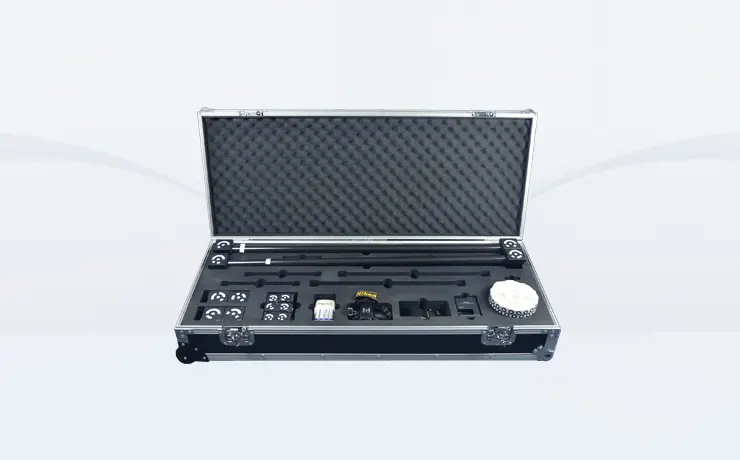
The photographic 3D scanner (HL 3DS+) adopts new coding calibration technology, which is the core mastery and application of 3D photogrammetry technology. It reduces physical distortion and improves the scanning accuracy of original 3D data. Heterodyne multi-frequency phase-shifting grating technology is used to improve the quality of scanning point clouds. It truly has a blue light device scanning system, and the photo-type 3D scanner scans data point spacing up to 0.01mm, which is suitable for scanning fine workpieces. It adopts a new core design concept and applies carbon fiber materials to improve the stability of the product during operation.
HL-3DP
HL-3DP
2024-02-26
The 3D photogrammetry system (HL-3DP) uses a handheld high-resolution (6000×4000) digital camera to take digital photos of the measured object. The 2D digital photo images are superimposed to obtain the measured object's 3D coordinates. This mobile technology can effectively save measurement time in capturing the 3D coordinates of the measured object, quality control (Inspection) and deformation analysis (Deformation).
Model 69
Model 69
2024-01-24
Model 69 has a total of 69 blue laser lines, including photogrammetry function mode, using 51 cross blue laser lines for large-range mode, standard mode + 17 parallel blue laser lines for precision mode + 1 blue laser line for deep hole scanning; scanning speed is faster, accuracy is higher, and stability is stronger; this product has been widely used in the fields of 3D detection and reverse engineering, and the operation process is flexible and convenient, suitable for various complex application scenarios.