- A +
- A
- A -
As the foundation of industrialized production, the mold industry's production technology and level have become the main indicator of measuring the level of the manufacturing industry. A well-known mold manufacturing company in Tianjin needs to measure a large mold (2m long, 1.4m wide) to detect the flatness, hole center distance, hinge position and other data on the mold surface after the mold is produced and processed.
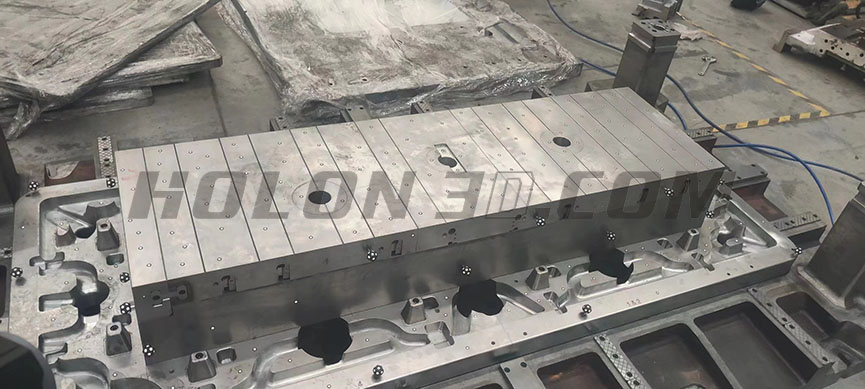
1. The mold is large in size, heavy in weight, and complex in shape. Customers require fast work efficiency and accelerated work process. It also has strict requirements for the scanned data, and the data analysis must be accurate, with small errors and high precision.
2. Simply using the traditional method to measure different positions requires changing different tools, which is also very cumbersome and time-consuming. It is inefficient and difficult to control the accuracy. Therefore, it was decided to use a new scanning method to replace the traditional measurement solution.
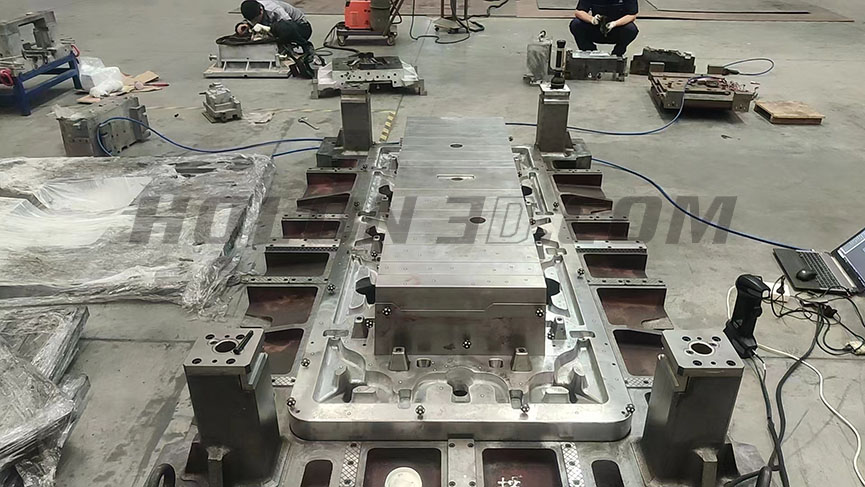
Mold scan physical picture
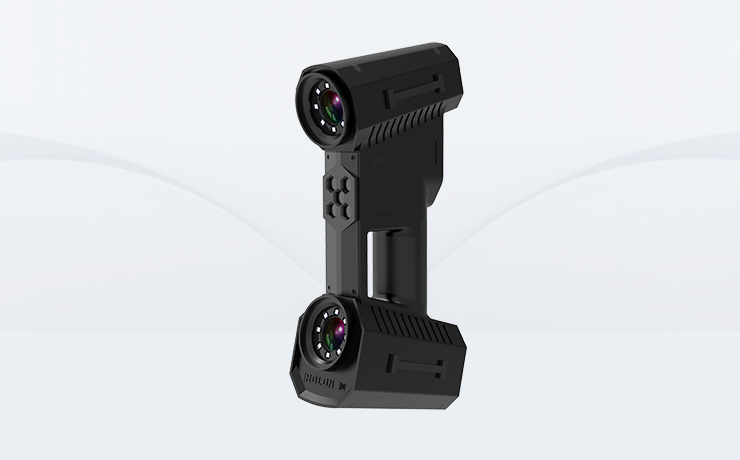
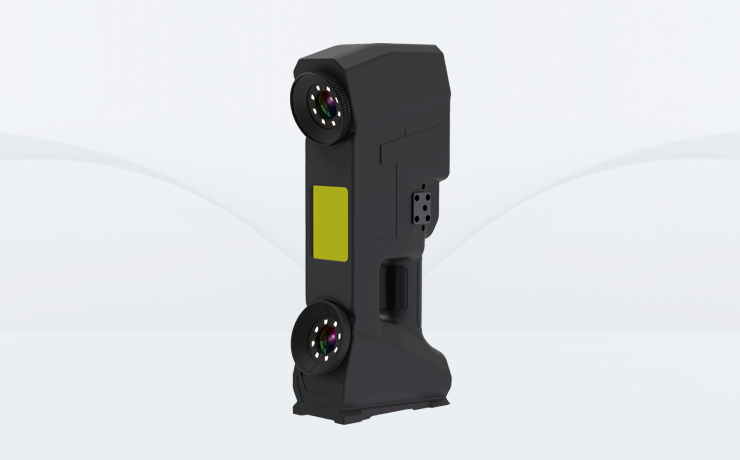
For the problem of mold scanning, HOLON3D uses a handheld 3D scanner Model 37. First, it quickly scans the entire mold. The data can be scanned out within 30 minutes, and the data required by the customer is obtained. The scanned data is compared with the digital model for analysis. Get a simple and easy-to-understand comparison report, and the mold detailed data errors are clear at a glance. New handheld 3D scanning technology is used to perfectly reproduce surface features through non-contact measurement methods while also having the function of fast scanning.
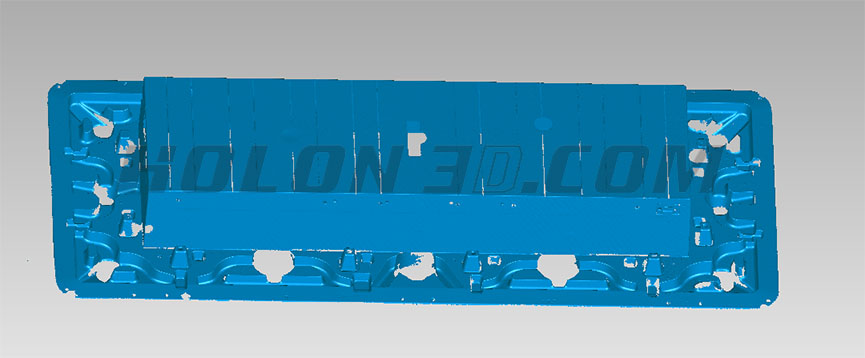
Mold STL data chart
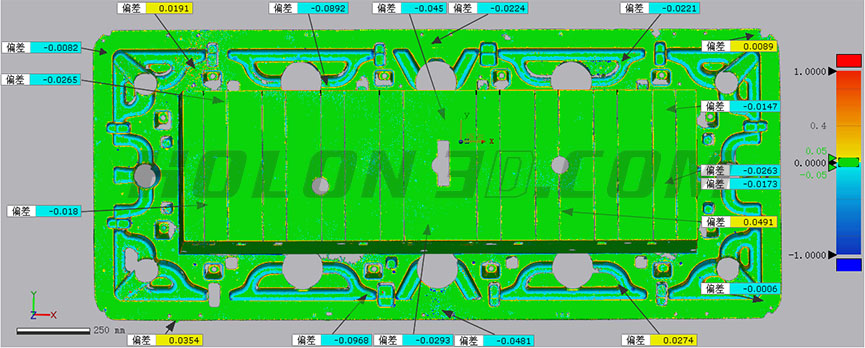
Mold comparison inspection chart
